How To Draw Grass 5 Easy Steps – Quick and Simple
Posted on |
Introduction How To Draw Grass
The Beauty of Grass in Art
Grass, with its swaying blades and layered textures, provides a lush, intricate backdrop that brings natural beauty into any artwork. Capturing grass is not just about drawing lines but portraying the intricate depth, movement, and organic feel that comes with nature.
Why Grass is a Core Element in Landscape Drawing
Grass anchors landscapes, giving them a rooted, earthly quality that makes every scene more believable. It may seem simple, but grass adds a layer of depth that elevates an image, whether it’s a meadow, a park, or a countryside view.
Overview of the 5-Step Process
To draw grass effectively, a simple five-step approach can transform blank pages into lively landscapes. By learning to capture texture, shadows, and layering, even beginners can create a convincing grass effect with ease.

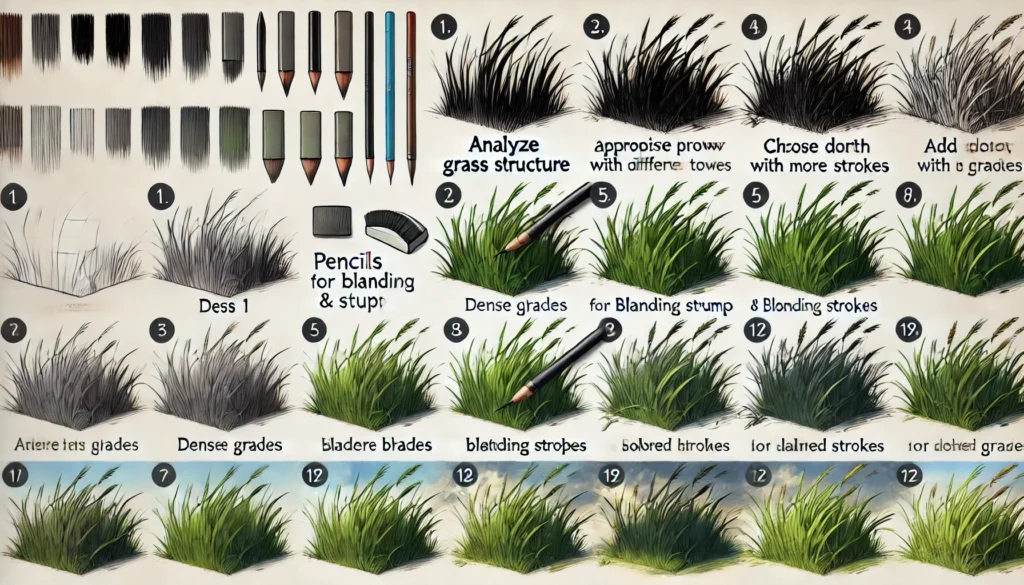
Step 1: Understanding the Basics of Grass Structure
Analyzing Grass Blades and Patterns
Grass isn’t just one uniform blade repeated; it’s a collection of varying lengths, angles, and bends that overlap and weave through each other. Analyzing real grass helps artists understand this randomness, adding realism and life to their drawings.
How Grass Density Affects Texture
Dense grass feels different from sparse patches. Dense areas have shadowed undertones, while sparse areas let more light through, creating a contrast that adds to the dimensionality of the scene.
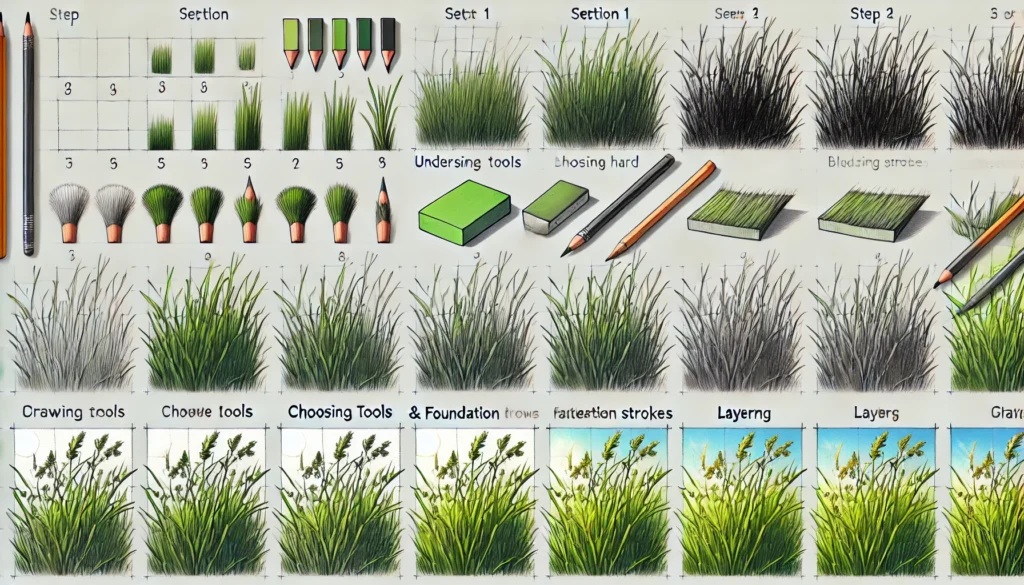
Step 2: Choosing the Right Tools
Ideal Pencils and Pens for Grass Texture
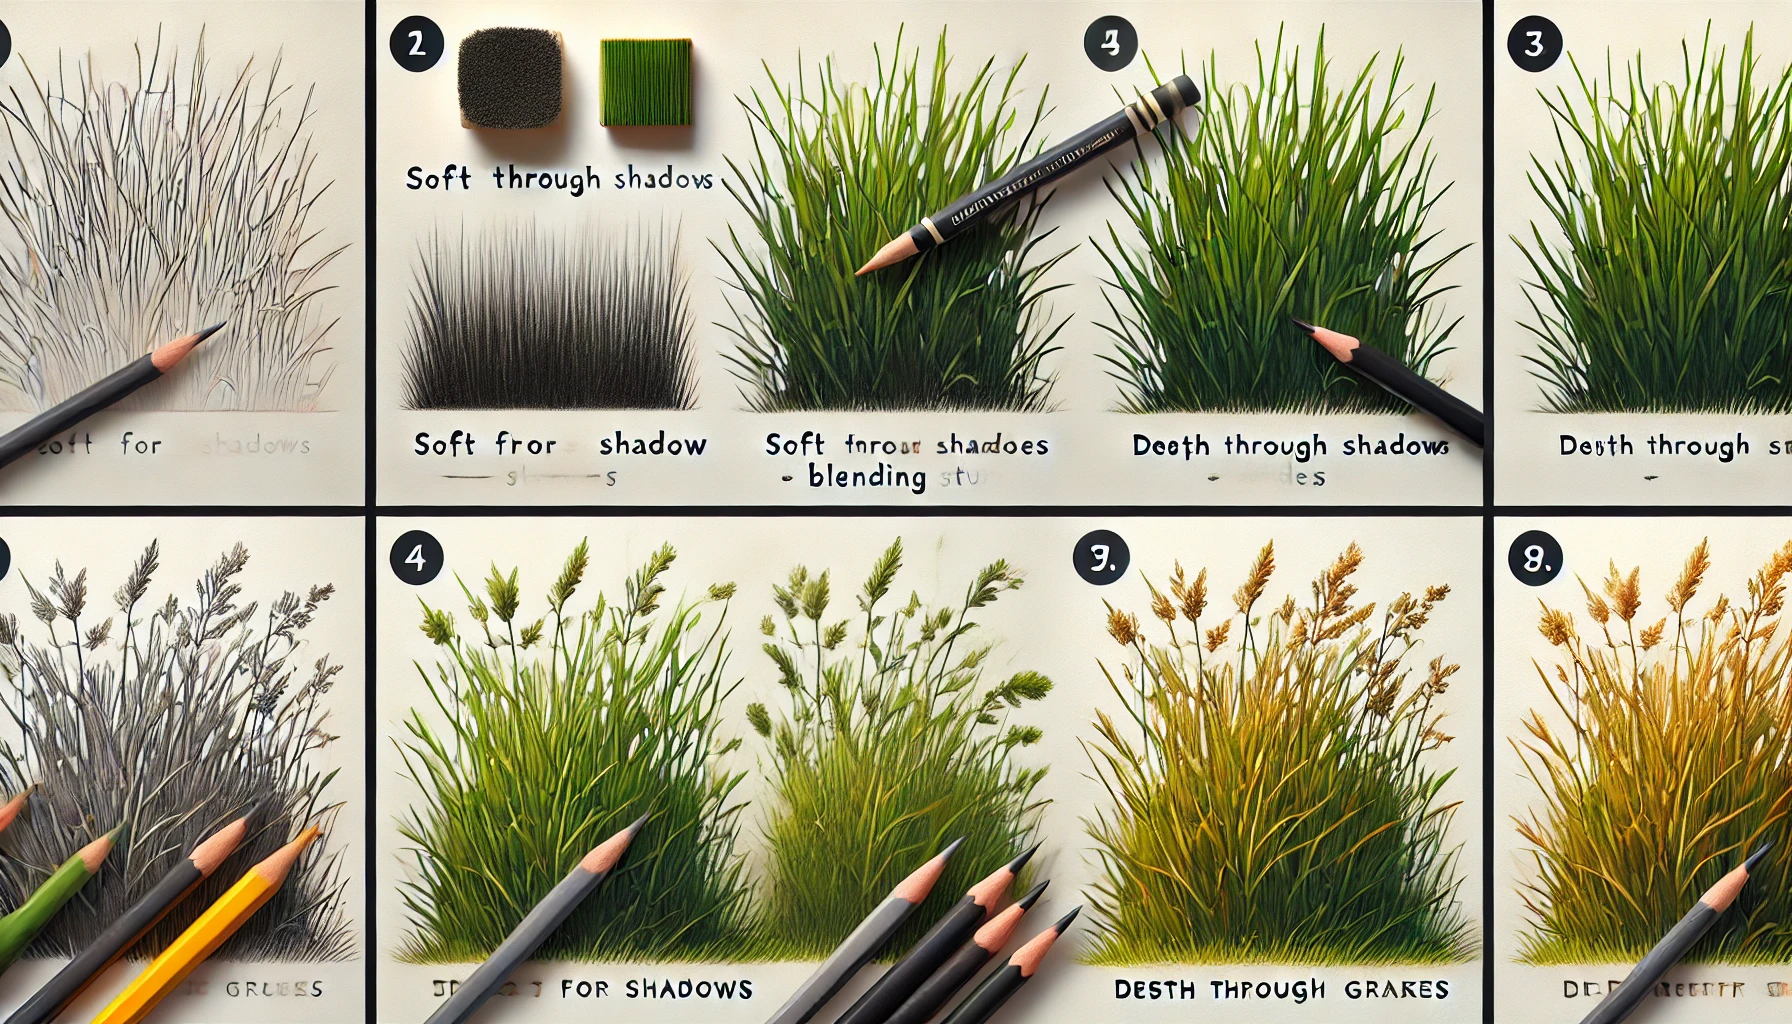
For most realistic grass, use pencils with varying hardness: soft pencils for shadows and depth, harder pencils for finer blades. Experiment with pen nibs if you want a sharper, defined look, especially in cartoon-style drawings.
Using Blending Tools for Realistic Depth
Blending stumps or cotton swabs soften hard lines and help create depth. Light blending in some areas can simulate the blurred effect you’d see when viewing a grassy field from afar.
The Benefits of Colored Pencils vs. Graphite
Colored pencils offer the advantage of capturing the diverse hues of grass—greens, yellows, browns. Graphite, however, is fantastic for creating monochromatic landscapes, emphasizing form, shadow, and texture without color.
Step 3: Laying the Foundation with Basic Strokes
Creating the First Layer with Gentle Lines
Begin with a soft, light hand, making thin strokes that act as the base of the grass. These foundational lines don’t have to be perfect, as they’ll largely serve as a guide for subsequent layers.
Developing Consistency in Grass Stroke Length
Vary the length of your strokes to mimic real grass. Consistency doesn’t mean uniformity; instead, it’s about keeping the strokes naturally uneven, like actual grass blades that vary with height.
Building Dimension with Light and Dark Strokes
Alternate light and dark strokes to simulate patches of grass catching sunlight or shaded by nearby blades. This interplay between light and dark strokes establishes the ground for a more dynamic look.
Step 4: Adding Depth Through Layering
Understanding How to Create Shadows in Grass
Grass isn’t flat; each blade casts a subtle shadow on others. Layering darker strokes underneath lighter ones gives the illusion of depth and shadow, creating a layered effect that mimics real grass.
The Role of Layering in Enhancing Realism
By layering strokes in varied directions, the texture becomes multidimensional. Layering prevents the grass from looking like a flat, repetitive texture, bringing a naturalistic quality to the drawing.
Using Highlights to Bring Grass to Life
Highlights represent sunlight reflecting off blades. Adding faint, selective lines to the tips of grass blades or upper areas helps emulate sunlight, making the grass look fresh and full of life.
Step 5: Refining and Adding Details
Introducing Fine Blades for Authenticity
Add finer blades for detail, especially around the front of the image or the edges of patches of grass. These details create authenticity, especially in closer-view drawings where texture stands out.
Adjusting Density for a Natural Look
Varying the density of your strokes creates areas where grass is thick and lush versus thin and sparse. This variation is key to making grass look naturally grown, rather than artificially placed.
Blending and Smudging for a Soft Finish
A soft finish works wonders for distant grass, creating a slight blur that imitates the way grass looks from afar. Gently smudge the background blades to give them a more blended, softer effect.
Extra Tips for Realism
Studying Grass in Real Life for Inspiration
Observation is a powerful teacher. Studying real grass textures, colors, and patterns gives you an edge in recreating it on paper with confidence and realism.
Practicing Various Types of Grass Textures
Not all grass is the same. Try practicing thin, sparse grass versus thicker, wilder types, as this will prepare you to draw different landscapes with unique grass textures.
Creating Grass in Different Environments
Grass behaves differently depending on its environment. For instance, grass near water will often appear lush and moist, while in arid areas, it might look dry and sparse.
Common Mistakes to Avoid
Overcrowding Grass Blades
One common error is drawing too many blades too closely, which makes the grass appear cluttered. Space them out, allowing natural light to show through for a more lifelike effect.
Using Too Much Pressure Early On
Pressing hard on your pencil from the start can limit layering potential. Start lightly, allowing room for darker strokes and details later in the drawing.
Neglecting the Role of Shadows
Shadows are crucial in creating depth. Without them, grass looks flat and unrealistic, so incorporate shadows carefully to bring out the form and texture of each patch.

Advanced Techniques for Grass Drawing
Incorporating Blades in Motion
Grass can look dynamic by adding slight curves and bends to blades, creating the illusion of wind. This brings a sense of motion, making the scene more lively.
Drawing Dew Drops for an Added Effect
A few dew drops can elevate grass to a new level of realism. Small, rounded glistening spots give an impression of freshness and add a tactile detail to the drawing.
Adding Flowers or Weeds for Interest
Incorporate small wildflowers or scattered weeds to make the scene more vibrant and add a level of complexity, enhancing the richness of your landscape.
Frequently Asked Questions
How Long Does it Take to Master Grass Drawing?
Mastering grass drawing depends on practice. With consistent effort, beginners can gain confidence in a few weeks, but true mastery is a journey.
Is it Necessary to Use Colored Pencils?
While not necessary, colored pencils add a dimension that graphite lacks. They allow for a nuanced portrayal of different grass tones, enhancing realism.
Can These Steps Be Applied Digitally?
Yes, digital drawing tools can simulate these techniques, allowing artists to achieve similar layering, shading, and highlighting for realistic grass effects.
Conclusion
Embracing Patience in the Art of Grass Drawing
Drawing grass is an exercise in patience and observation. Each blade requires thought and care, teaching the artist the value of small details in creating a bigger picture.
How Practice Enhances Detail and Depth
Practice is the backbone of skill. Over time, strokes become more intentional, shadows more nuanced, and the overall composition more convincing.
Final Thoughts on Achieving Realistic Grass
Grass drawing, while intricate, is immensely rewarding. With these five steps, any artist can unlock the potential to create vibrant, lifelike landscapes that capture nature’s beauty in every blade.

