How To Draw A Skull 5 Easy Steps – Quick and Simple
Posted on |
Introduction How To Draw A Skull
Drawing a skull has a timeless allure, blending the macabre with artistic beauty. Skull art has captivated artists for centuries, becoming a motif in everything from historical still-life to edgy contemporary designs. Understanding how to draw a skull can enhance your artistic skills and create a striking image with minimal tools and time.
Materials Needed
To draw a skull, select pencils with varying graphite grades (HB, 2B, and 4B are ideal). Quality sketching paper with a bit of texture helps in achieving smoother shading. Optional tools like blending stumps and erasers can further enhance details and tonal shifts.

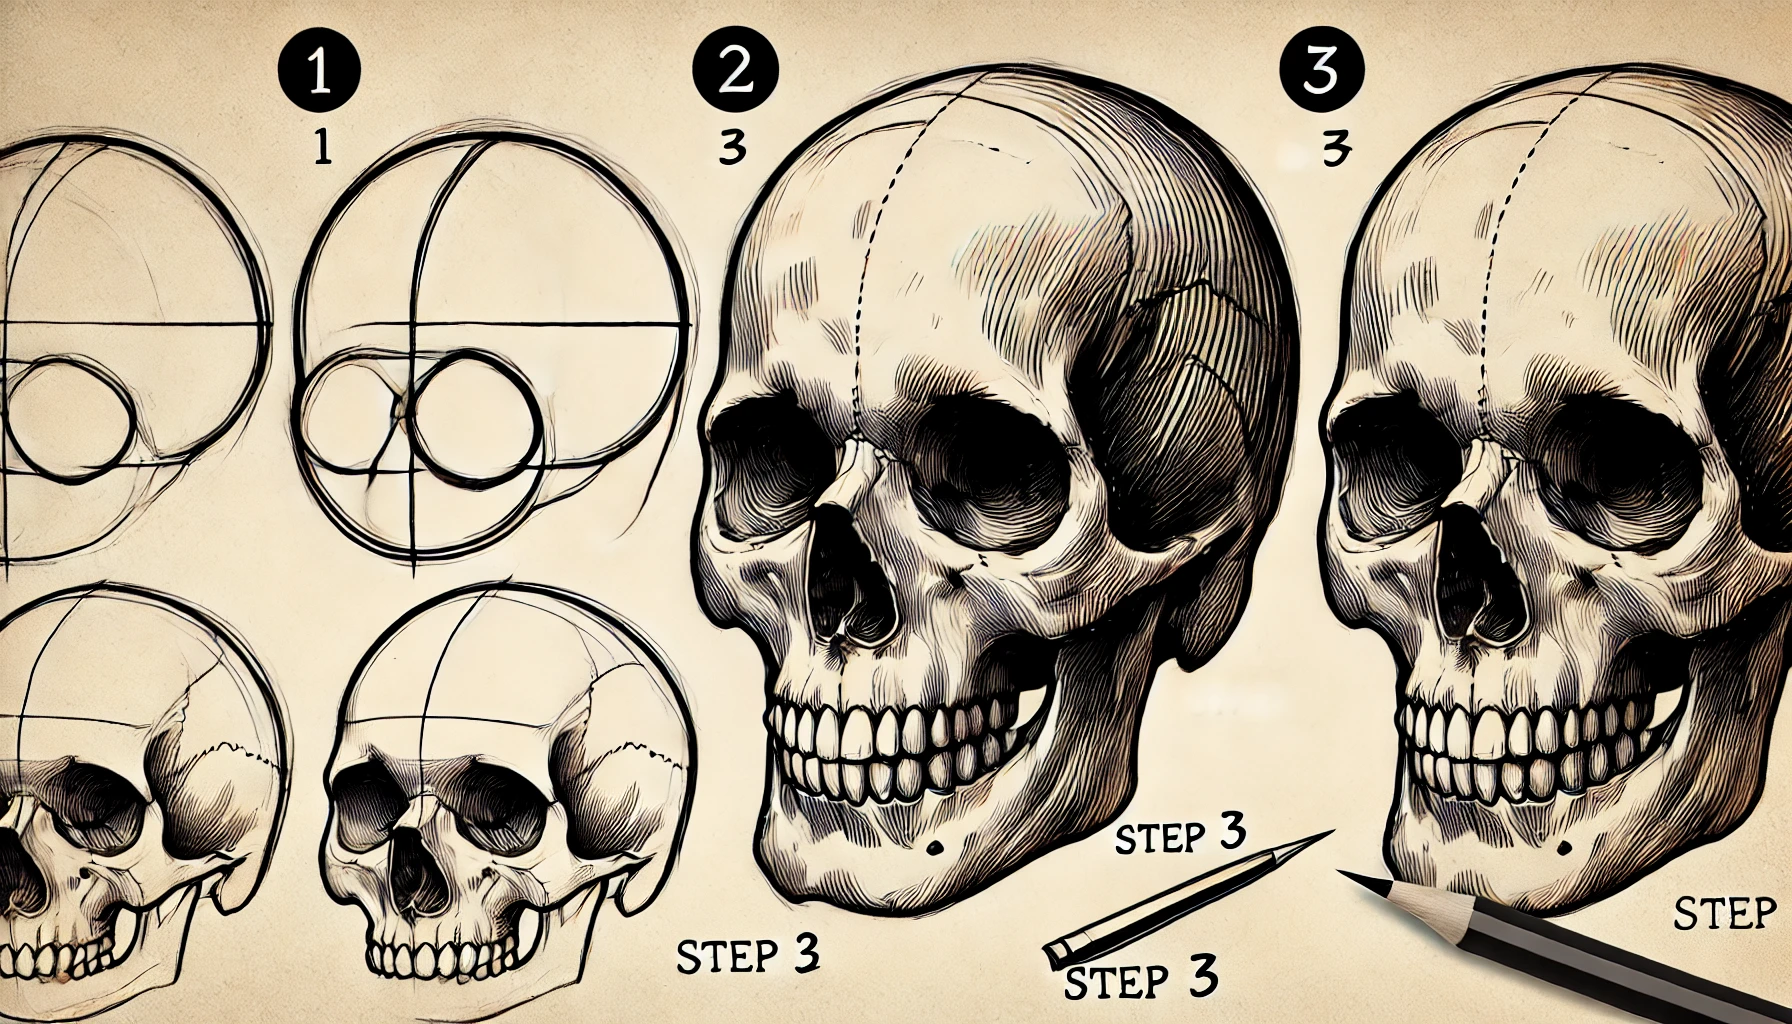
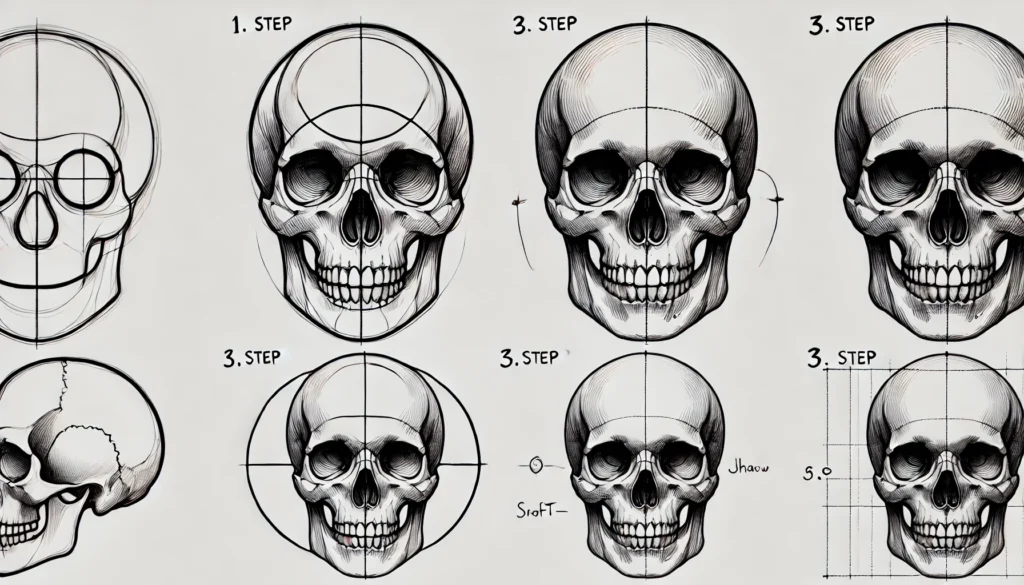
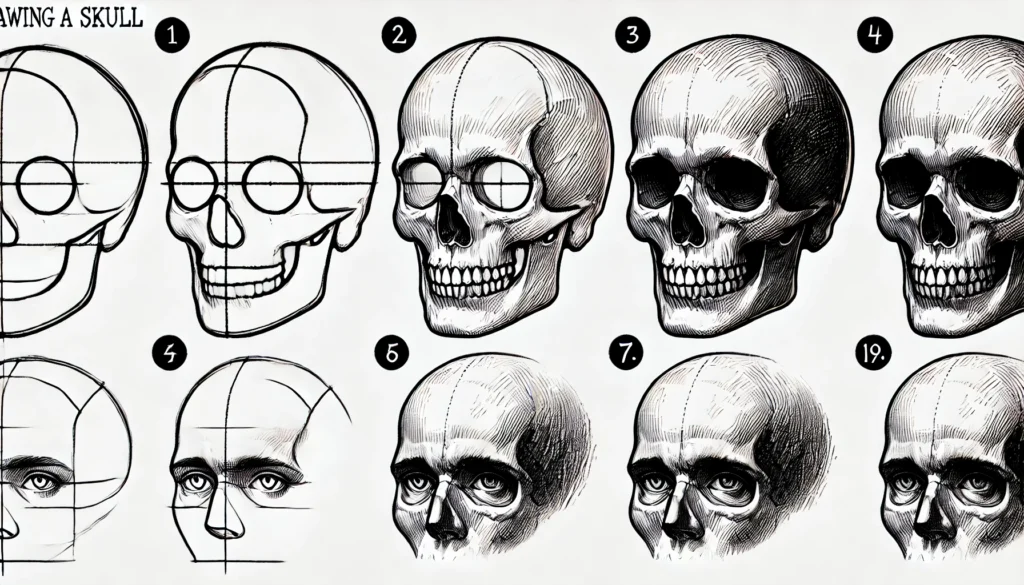
Step 1: Sketching the Basic Shape
Begin by sketching a simple oval for the cranium, followed by a rectangular shape beneath it to guide the jaw placement. Keep proportions in check to maintain realism: the skull’s width should slightly taper as it reaches the chin, with a wider cranium.
Step 2: Defining the Skull Structure
Map out two large circles for the eye sockets, centered horizontally within the oval. Position a triangular shape for the nose cavity just below the midpoint. Draw a soft curve to indicate the jawline, with higher cheekbones to provide structure.
Step 3: Adding Depth with Shading
Identify a light source to decide where shadows will fall. Use a softer pencil, such as a 2B, to shade around the eye sockets, cheekbones, and beneath the jaw. Blend using a tissue or blending stump, allowing the skull to gain volume and depth.
Step 4: Detailing Teeth and Jaw
Divide the lower portion of the skull for the teeth, drawing them with slightly rounded rectangles. Take care to space them evenly but leave minor imperfections for a natural look. Add lines and soft shading to the jaw for texture.
Step 5: Refining and Finishing Touches
Examine your drawing for any uneven areas. Use an eraser to lighten any over-shaded regions, giving a more balanced look. Add final, delicate strokes around the edges to bring a lifelike quality to the skull.
Common Mistakes to Avoid
Avoid misplacing key proportions; an oversized jaw or tiny eye sockets can throw off the entire drawing. Be cautious with shading – too much can obscure details, while too little can make the drawing appear flat.
Tips for Adding Personal Style
Develop your artistic voice by experimenting with line quality or unique shading techniques. Some artists prefer a rough, bold look, while others gravitate toward smooth, soft transitions for a softer appearance.
How to Adapt Your Skull Drawing for Different Styles
Consider altering details for a cartoonish or exaggerated style, or focus on realistic detailing for an anatomical effect. A minimalist skull with simple lines can be just as powerful as a detailed rendition.
Using Reference Images Effectively
Look for clear skull references with varying light sources. Examine details like the curve of the cheekbone or the intricacy of the nasal cavity to translate them into your drawing with accuracy.

Enhancing Your Skull with Additional Details
Add cracks, surface textures, or minor imperfections to create character. Including a faint background can further set the mood and offer a visual context to your skull drawing.
Exploring Color Choices in Skull Art
Try a monochromatic look with dark shadows, or add pops of color for a modern twist. Experiment with contrasting the skull’s shadows with a vibrant background for an eye-catching effect.
Incorporating Cultural Elements
Use cultural elements like Dia de los Muertos designs for a festive skull. Consider motifs and patterns, like floral or geometric shapes, to give your skull a unique, culturally inspired style.
Digital Tools for Skull Drawing
Digital drawing tools like tablets enable you to work on layers, adjusting shading and detailing without commitment. Experiment with digital brushes to replicate traditional pencil textures.
Practicing for Perfection
Repetition builds skill. Draw skulls regularly, even if they are quick sketches, to familiarize yourself with proportions and techniques. Track your progress to see improvement over time.
Advanced Skull Drawing Techniques
Challenge yourself by drawing skulls from difficult angles or incorporating intricate details like cracks and aging. These advanced techniques add complexity to your work.
Learning from Famous Skull Artwork
Study artists like Albrecht Dürer or Georgia O’Keeffe, who incorporated skulls into their art. Examine how different art periods used skulls to symbolize themes from mortality to beauty.
Displaying Your Artwork
Frame your skull drawing to give it a polished look, or experiment with matte or gloss finishes. Share your work online, engaging with communities that appreciate this captivating art form.
Conclusion
Drawing a skull offers a blend of technical skill and creative freedom. Each detail you add brings life to a subject that has fascinated artists for centuries. Embrace the journey of mastering this iconic art.

