How To Draw A Hand 5 Easy Steps – Quick and Simple
Posted on |
Introduction How To Draw A Hand
For artists, the hand remains one of the most challenging, intricate subjects to draw. Its complexity, filled with joints, bones, and countless movements, often causes budding and even seasoned artists to hesitate. Yet, learning how to draw hands is transformative; it brings life to characters and enriches compositions. With five straightforward steps, creating a realistic hand drawing becomes both achievable and enjoyable.
Understanding the Anatomy of a Hand
Before the pencil touches paper, understanding the anatomy of the hand is invaluable. The hand is composed of intricate bones, muscles, and joints that create its unique shape and flexibility. Each part, from the palm to the individual knuckles, influences how the hand looks and moves. A firm grasp of this structure is key to drawing hands that appear both accurate and lifelike.

Step 1: Visualize the Hand as Basic Shapes
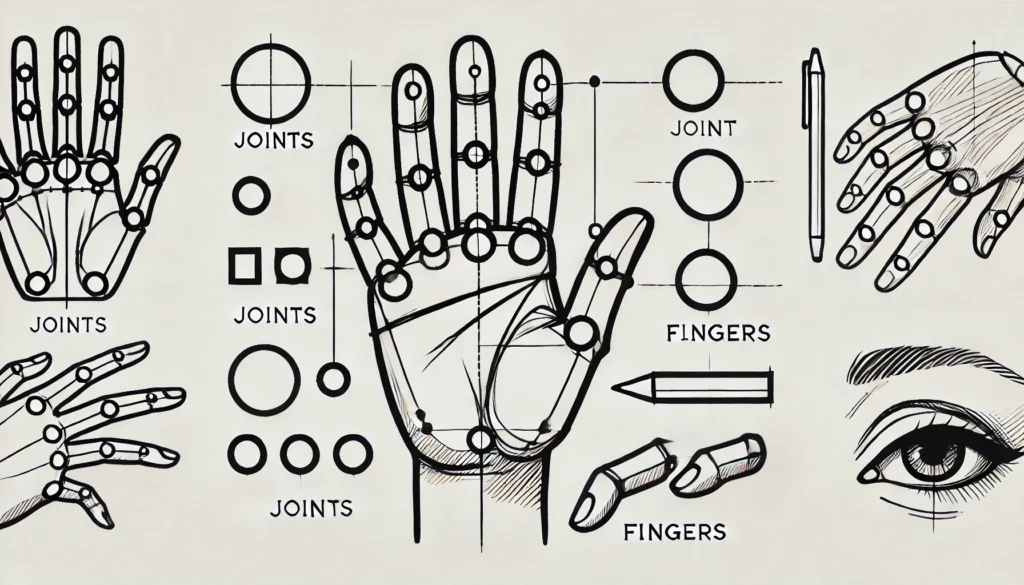
The secret to drawing complex forms lies in simplification. By viewing the hand as a series of basic shapes—circles for joints, rectangles for the palm, and elongated ovals for fingers—it becomes easier to arrange the hand on paper. This approach ensures correct proportions and provides a foundation upon which to add detail.
Step 2: Drawing the Palm and Wrist
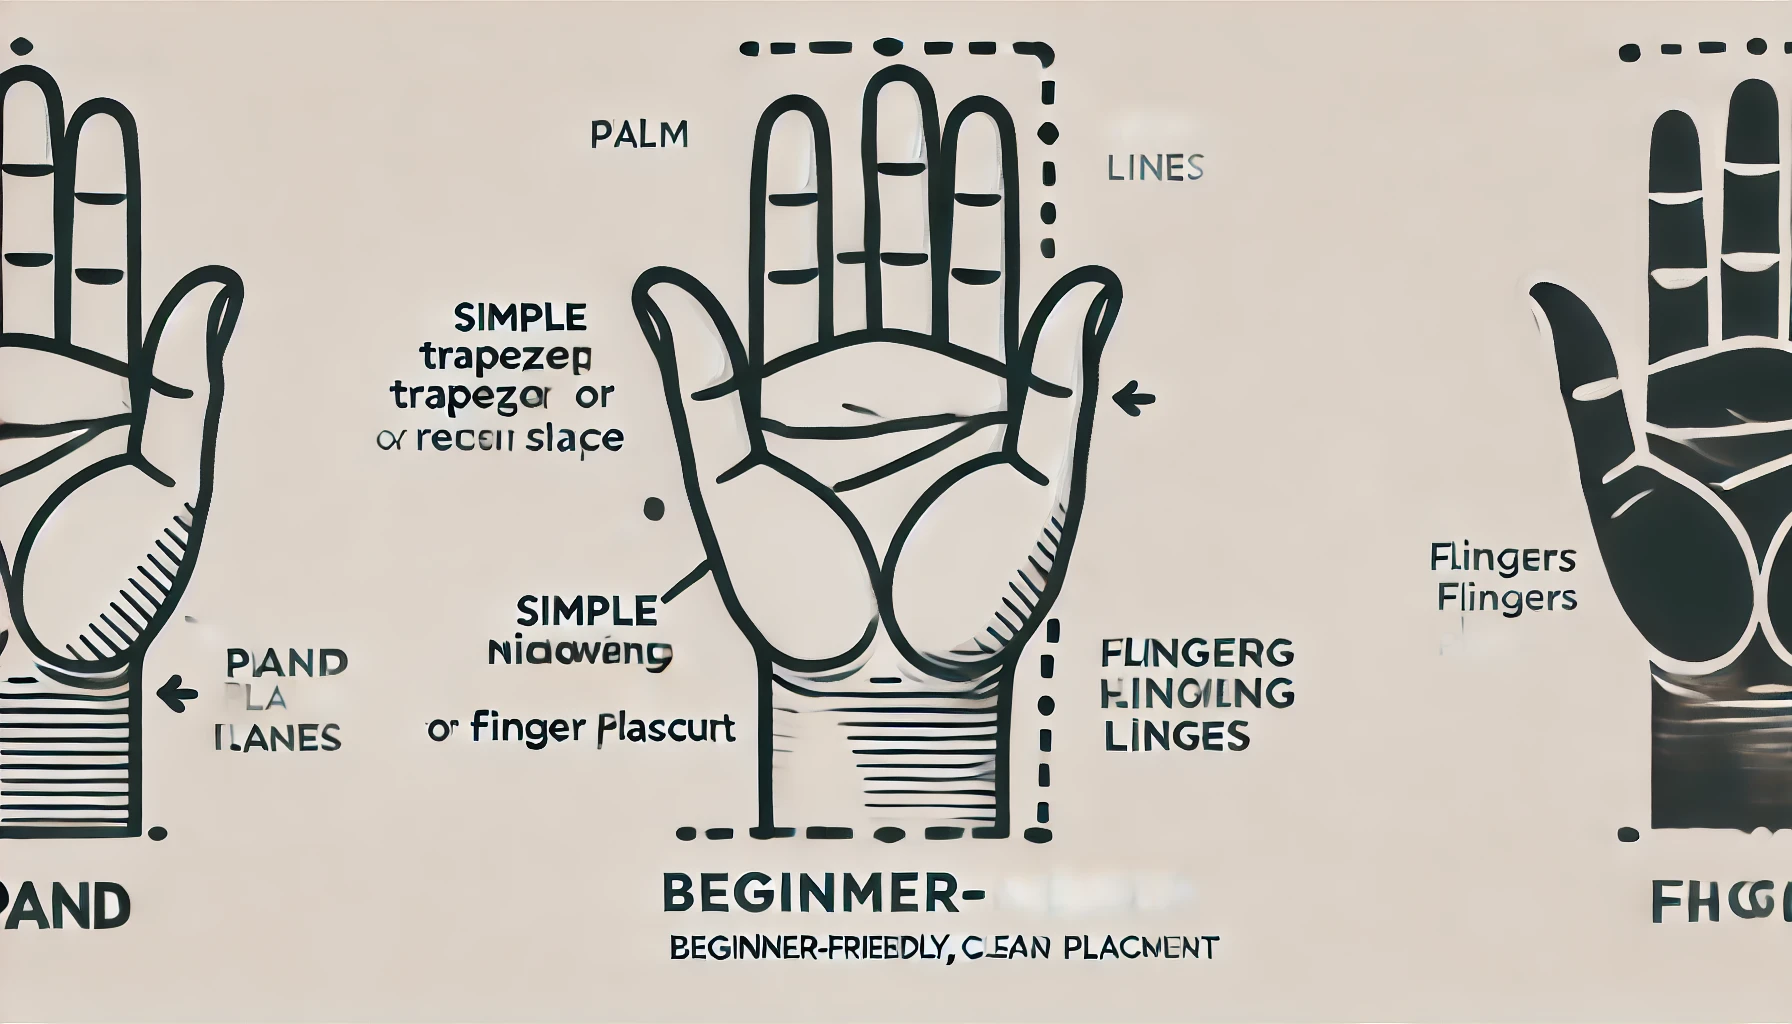
Begin by sketching the palm and wrist, the base of the hand. This is the anchor for the entire hand drawing. With a simple rectangular or trapezoidal shape, you can depict the palm, while a narrowing connection leads to the wrist. Ensuring that the palm is well-positioned and proportional to the wrist creates a stable framework for the fingers.
Step 3: Mapping Out the Fingers
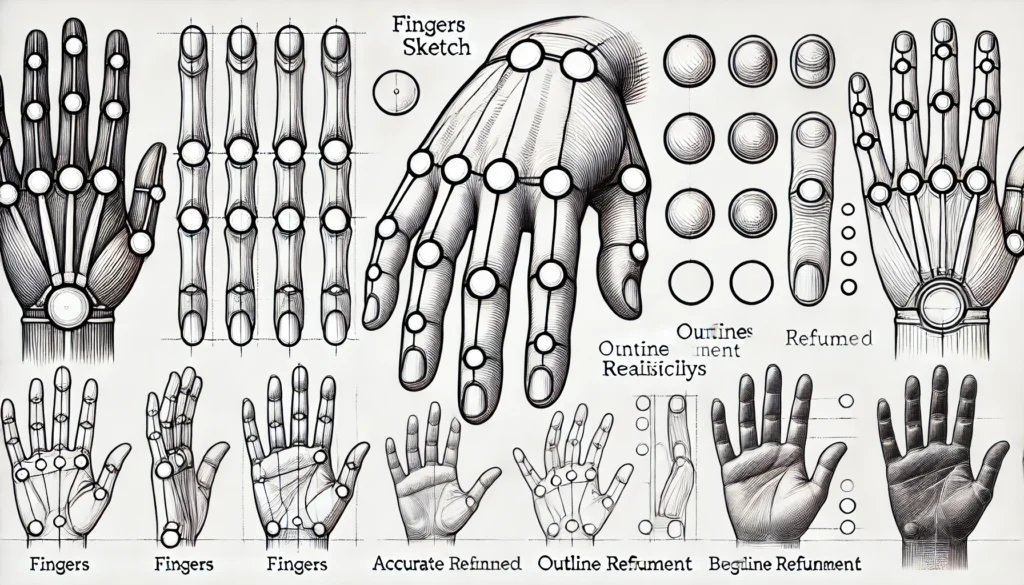
Next, focus on the fingers, which extend from the top of the palm. Begin by drawing simple, light lines to mark each finger’s position, noting their lengths and angles. Each finger varies slightly in length and tilt, and attention to these subtle differences helps avoid awkward, stiff hand drawings. Make sure each finger is spaced realistically in relation to the others.
Step 4: Adding Finger Joints and Knuckles
To make the fingers appear flexible, it’s essential to add joints and knuckles. Each finger has three joints—at the knuckle, the middle, and near the fingertip. Lightly sketch circles or slight bends to mark these points, as they guide the hand’s bending and natural curvature. Emphasizing the knuckles also enhances the hand’s depth and physicality.
Step 5: Shaping and Refining Each Finger
With the basic finger layout complete, it’s time to shape and refine. Smooth out each finger’s outline, turning rough shapes into tapered, lifelike forms. Adjust the knuckles and joints as needed to maintain proportion and fluidity. This step breathes life into the hand, transforming it from a rough sketch into a coherent form.
Adding Details for Realism
The true realism of a hand drawing comes through in its details. Adding fingernails, slight folds at the knuckles, and subtle wrinkles enhances authenticity. Avoid exaggerating these features; small, delicate lines are often enough to convey texture and depth without overwhelming the viewer.
Creating Dynamic Hand Poses
Hands are expressive, capable of various gestures that communicate emotion and action. Experiment with different poses, from an open palm to a clenched fist, observing how each gesture alters the hand’s structure. Capturing these poses adds energy and dynamism to your artwork, showcasing the hand’s versatility.
Understanding Light and Shadow on Hands
Lighting plays a significant role in portraying depth. Observe how shadows fall on the palm, between fingers, and around knuckles, and add shading to reinforce the hand’s volume. Lightly shaded areas contrast with darkened creases, creating a three-dimensional effect that makes the hand appear grounded and substantial.
Common Mistakes and How to Avoid Them
Common errors in hand drawing include disproportioned fingers, rigid shapes, and unbalanced angles. To avoid these, regularly check proportions, loosen up strokes, and reference real hands to compare and correct your sketch as you draw.

Practice Exercises for Mastery
Practice is the path to perfection. Engage in quick gesture sketches, contour exercises, and varied hand positions to enhance familiarity. Try drawing your own hand from different perspectives to gain a more intimate understanding of its shape.
Tools for Hand Drawing
Investing in quality tools can elevate your practice. Choose soft pencils, quality paper, and an eraser to allow for easy corrections. For digital artists, applications like Procreate offer brushes that mimic traditional media, making practice convenient and versatile.
Inspiration from Master Artists
Many masters, from Michelangelo to da Vinci, studied hands intensely. Analyze their work, noting how they captured details, structure, and expressions. Let their work inspire your practice and sharpen your eye for nuances.
Experimenting with Different Styles
Hand drawing can adapt to multiple styles, from realistic to abstract. Each style emphasizes different aspects of the hand’s anatomy. Explore how altering proportions or exaggerating features changes the tone of your hand drawing.
Troubleshooting Common Issues
Every artist encounters issues, like misaligned fingers or disproportionate palms. Step back, assess, and adjust—focus on finding balance and symmetry by refining the overall shape until it feels right.
Developing Consistency and Flow
Consistent practice builds muscle memory, allowing you to draw hands with natural ease. As hands become familiar, your strokes will grow fluid, improving the flow of each hand drawing.
Tips for Drawing Hands from Different Angles
Perspective shifts can complicate hand drawings. When hands are viewed from above, below, or at an angle, foreshortening becomes critical. Practice from various angles to become comfortable with perspective adjustments.
Applying Hand Drawing Skills to Larger Artworks
Once comfortable, apply hand drawings to character or portrait illustrations. Realistic hands add expressiveness and narrative to larger artworks, bringing depth and sophistication to the final piece.
Conclusion
Mastering hand drawing requires patience, practice, and a willingness to explore complexity. Each step simplifies this intricate process, transforming hand drawing from a daunting task into an attainable skill. Embrace the journey, as this knowledge will deepen your artistic expression and elevate your craft.

