How To Draw A Ghost 5 Easy Steps – Quick and Simple
Posted on |
Introduction How To Draw A Ghost
Drawing a ghost is more than a seasonal pastime; it’s a whimsical way to dive into the basics of sketching, explore the freedom of flowing lines, and craft a character that can be eerie or endearing. The simplicity of ghost drawing makes it a fantastic start for beginners and a playful exercise for experienced artists. Let’s explore five quick, simple steps to bring a ghostly figure to life on paper.
Materials Needed
Essential Supplies for Sketching
To create your ghost, gather basic drawing supplies: a pencil, eraser, and paper. A soft graphite pencil, like a 2B, works well for sketching and shading.
Choosing the Right Paper for Best Results
Opt for a smooth paper that lets your pencil glide. Thicker paper is ideal if you plan to use color or shading techniques.
Selecting Pencils for Shading and Details
Using a range of pencils—from hard (H) for light lines to softer (B) pencils for shadows—enhances depth and detail in your drawing.
Optional Additions: Markers, Colored Pencils, or Pastels
If you want to add a colorful twist or extra dimension to your ghost, markers or pastels provide a vibrant finish.

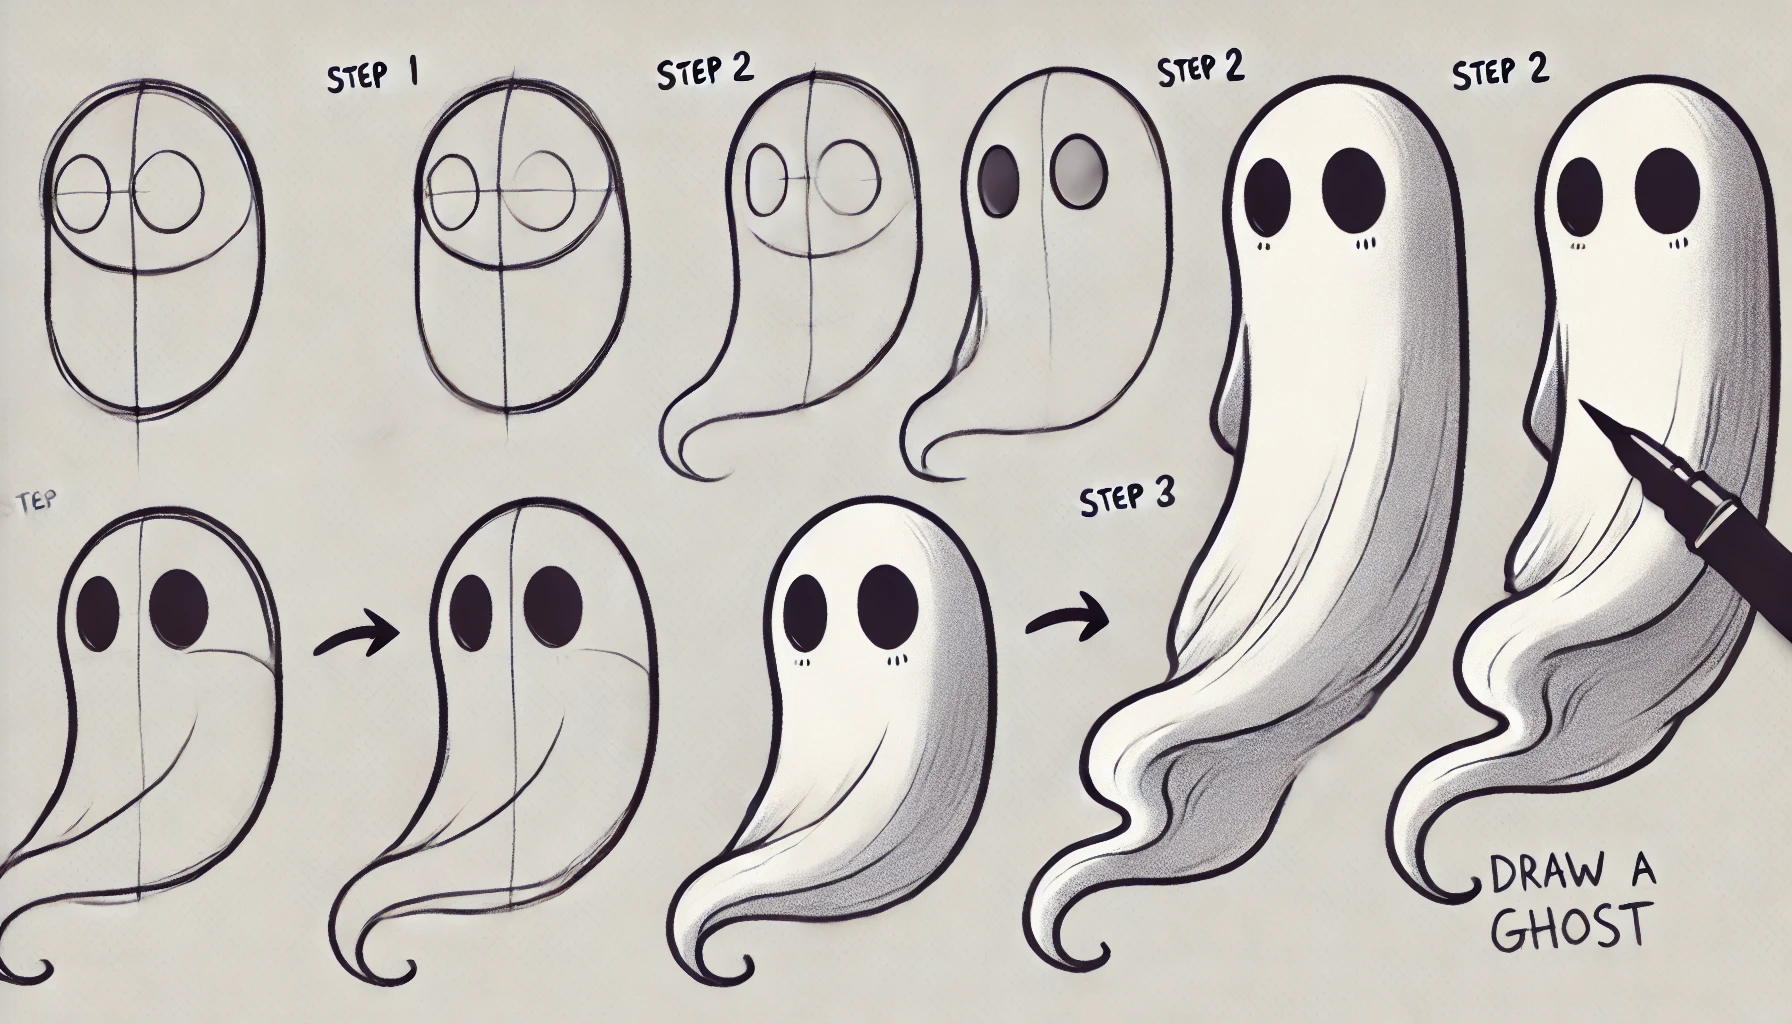
Step 1: Sketch the Ghost’s Basic Shape
Starting with an Outline
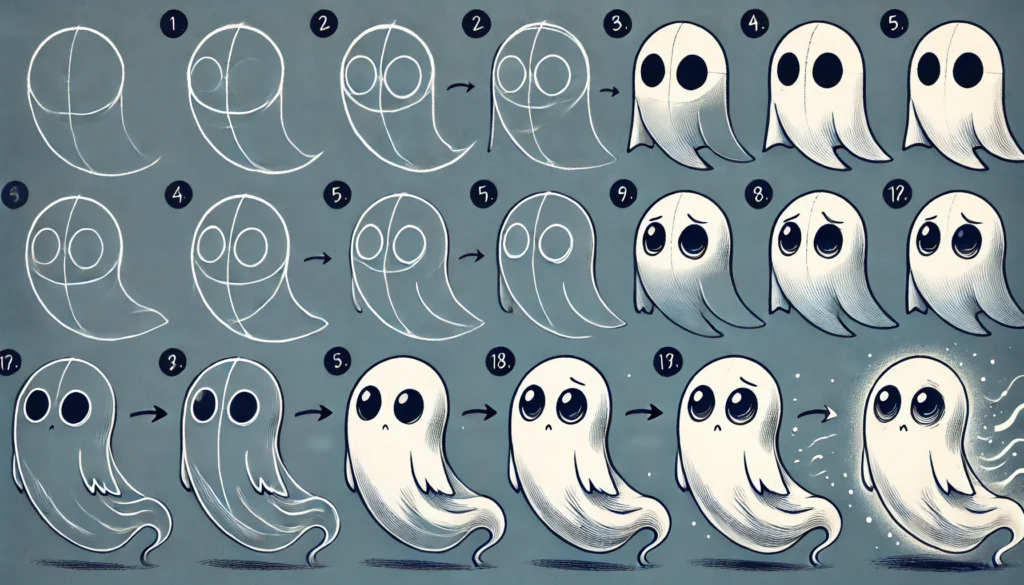
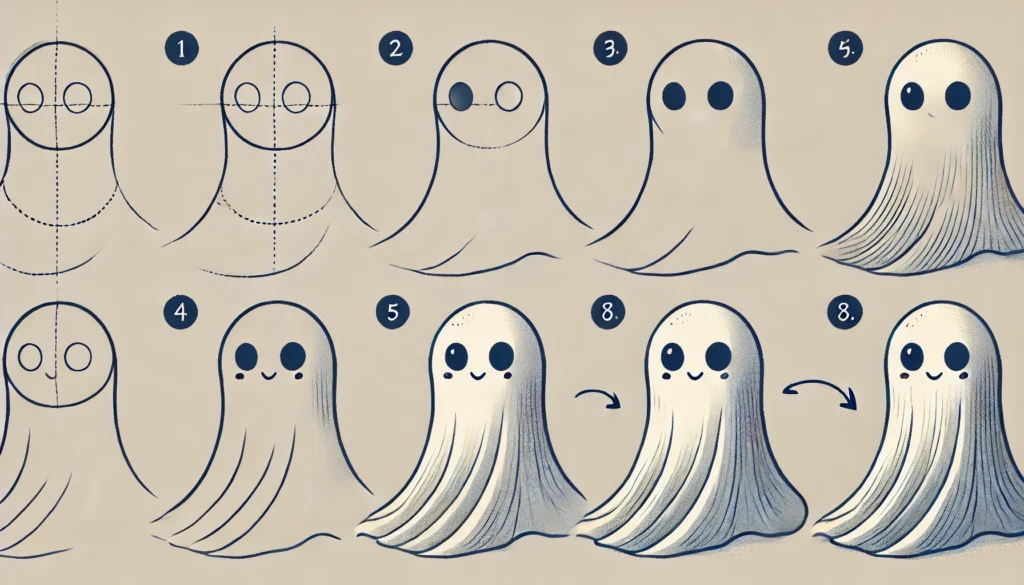
Begin by lightly drawing an oval or rounded shape for the head and a trailing, elongated form for the body. This sets the foundation for your ghost’s fluid, ethereal shape.
Creating a Fluid, Wispy Form
Let your lines flow loosely, giving your ghost a soft, floating quality. Avoid rigid lines, as ghosts are meant to feel free and intangible.
Avoiding Common Shape Mistakes
Keep the shape smooth and rounded. Avoid sharp angles to preserve the ghost’s soft, spectral appearance.
Step 2: Draw the Head and Face Features
Crafting a Simple, Expressive Face
Add large, round eyes to convey innocence or mystery. The face is the key to your ghost’s personality.
Creating Unique Eyes and a Mouth for Personality
Experiment with eye shapes: circles for a friendly look or ovals for a spookier effect. A simple “O” for the mouth adds charm.
Adding Expressions: From Friendly to Frightful
Tilt the mouth to change the mood—from a delighted “boo!” to an open-mouthed, ghostly moan.
Step 3: Form the Ghost’s Drapery or Tail
Drawing Flowing Lines for a Wispy Look
Extend the ghost’s body downward, forming a tail that tapers or wisps away. Keep the lines light and sweeping.
Choosing Between a Draped Cloak or Tapered Tail
Decide on a cloak-like shape for a traditional look or a trailing tail for a more modern, haunting figure.
How to Adjust the Drapery for Movement
Add small curves or swirls along the tail to give the impression of gentle movement, as if the ghost is gliding through the air.
Step 4: Add Shadows and Highlights
Introduction to Simple Shading Techniques
Shading enhances the ghost’s shape. Use soft shading along one side to create depth without making the ghost too solid.
Emphasizing Depth with Light and Shadow
Apply shading under the eyes and around the edges of the cloak or tail, suggesting transparency.
Making the Ghost Look Translucent with Soft Highlights
Leave portions of the ghost lightly shaded or unshaded to evoke a translucent, ethereal quality.
Step 5: Finalize and Clean Up the Drawing
Erasing Unwanted Lines for a Clean Finish
Carefully erase any stray pencil marks or sketch lines, refining the ghost’s shape and making the figure crisp.
Adding Last Details for a Polished Look
Add small touches, like faint wisps around the tail or tiny lines to suggest movement, giving your ghost a lifelike aura.
Tips for Refining Your Ghost’s Expression
Adjust the eyes and mouth to perfect your ghost’s mood. Even a slight tilt can shift the ghost from friendly to frightful.
Exploring Variations in Ghost Designs
Drawing a Friendly Cartoon Ghost
For a whimsical version, exaggerate features like large, expressive eyes and a gentle smile.
Crafting a Spooky, Shadowy Apparition
Make a darker, shaded version with hollow eyes and a frowning mouth for a ghostly specter.
Creating an Eerie Transparent Look
Use minimal lines and soft shading to give your ghost an almost invisible, transparent quality.
Tips for Beginners
Practicing Basic Shapes and Lines
Start with basic shapes to feel comfortable with the fluidity of drawing a ghostly figure.
How to Avoid Overcomplicating the Drawing
Keep the design simple and avoid adding too many details. Less is often more with ghost drawings.
Building Confidence in Your Art Skills
As you refine your ghost, remember that each stroke builds your confidence and style.
Common Mistakes to Avoid
Making the Ghost Look Too Stiff
Avoid stiff lines by using smooth, flowing curves. Ghosts are meant to appear airy and effortless.
Overdoing Shadows or Lines
Too much shading can make the ghost look heavy. Keep it light for a more ghostly, translucent effect.
Rushing Through Steps and Losing Precision
Take your time to enjoy each step, refining details for a polished result.
Going Beyond: Adding a Background
Simple Background Ideas to Set the Scene
A soft, misty backdrop or scattered stars adds a sense of atmosphere.
Drawing a Haunted House or Graveyard
Adding a silhouetted haunted house or headstones intensifies the ghostly theme.
Adding Trees, Moon, or Clouds for Extra Atmosphere
Details like barren trees, a full moon, or drifting clouds give depth to the ghost’s surroundings.

Finishing Touches for a Professional Look
Adding Final Details for Depth
Consider adding faint lines around the ghost to enhance its presence.
Playing with Color Accents on Your Ghost
Add subtle blues or purples to give your ghost an otherworldly glow.
When to Consider Adding Background Elements
A background adds context but isn’t always necessary—decide based on your style.
Ways to Display Your Artwork
Ideas for Sharing on Social Media
Share your ghost with a simple background to let the drawing stand out on digital platforms.
Tips for Framing and Displaying Your Drawing
Frame your artwork to create a spooky centerpiece for Halloween decor.
Creating Digital Versions of Your Artwork
Scan or photograph your ghost to digitize it, preserving your artwork for future use.
Practicing with Other Supernatural Sketches
Drawing Other Classic Spooky Characters
Try sketching a pumpkin or bat next, expanding your Halloween-themed repertoire.
How Practicing Ghosts Can Improve Other Art Skills
Ghosts teach soft lines and shading techniques that are useful for other subjects.
Learning from Famous Ghost Artwork
Exploring Iconic Ghost Illustrations in Pop Culture
Look at famous ghost illustrations for inspiration, from cartoons to classic Halloween art.
Analyzing Ghost Imagery in Halloween Art
Notice how artists depict transparency and shape, enhancing your own ghostly drawing skills.
Conclusion
You’ve now mastered how to draw a ghost in five easy steps. With a few simple tools and techniques, you’ve brought a spooky yet playful figure to life, honing your artistic skill along the way. Keep experimenting, add your own creative twists, and enjoy the magic of creating ghostly characters.

