How To Draw A Mushroom 5 Easy Steps – Quick and Simple
Posted on |
Introduction How To Draw A Mushroom
Mushrooms have captivated the human imagination for centuries, popping up in everything from fairytales to fine art. Their varied shapes, colors, and textures make them a fascinating subject to capture on paper. For artists, mushrooms offer an ideal balance of simplicity and complexity—perfect for those just starting out and seasoned artists alike. Whether you’re drawn to their enchanting forms or looking to hone foundational drawing skills, learning to draw a mushroom is a rewarding journey that can easily be broken down into five essential steps.
Gathering Your Drawing Materials
To get started, you’ll need some basic drawing tools. A good-quality pencil, such as an HB or 2B, will provide a versatile range for sketching and shading. An eraser and a blank sheet of paper are, of course, essentials. If you’re aiming to add color or detail later on, consider colored pencils or fine liners. These additional tools can enhance your drawing but aren’t necessary for mastering the fundamental techniques.
Understanding Mushroom Anatomy for Drawing
Before diving into the sketch, understanding the basic anatomy of a mushroom can be immensely helpful. A mushroom typically has three main parts: the cap, the stem, and the gills beneath the cap. Knowing this structure can help you break down the drawing process, allowing you to capture its essence with accuracy and style. From the cap to the gills, every part plays a role in creating that classic mushroom silhouette.

Step 1: Sketching the Cap
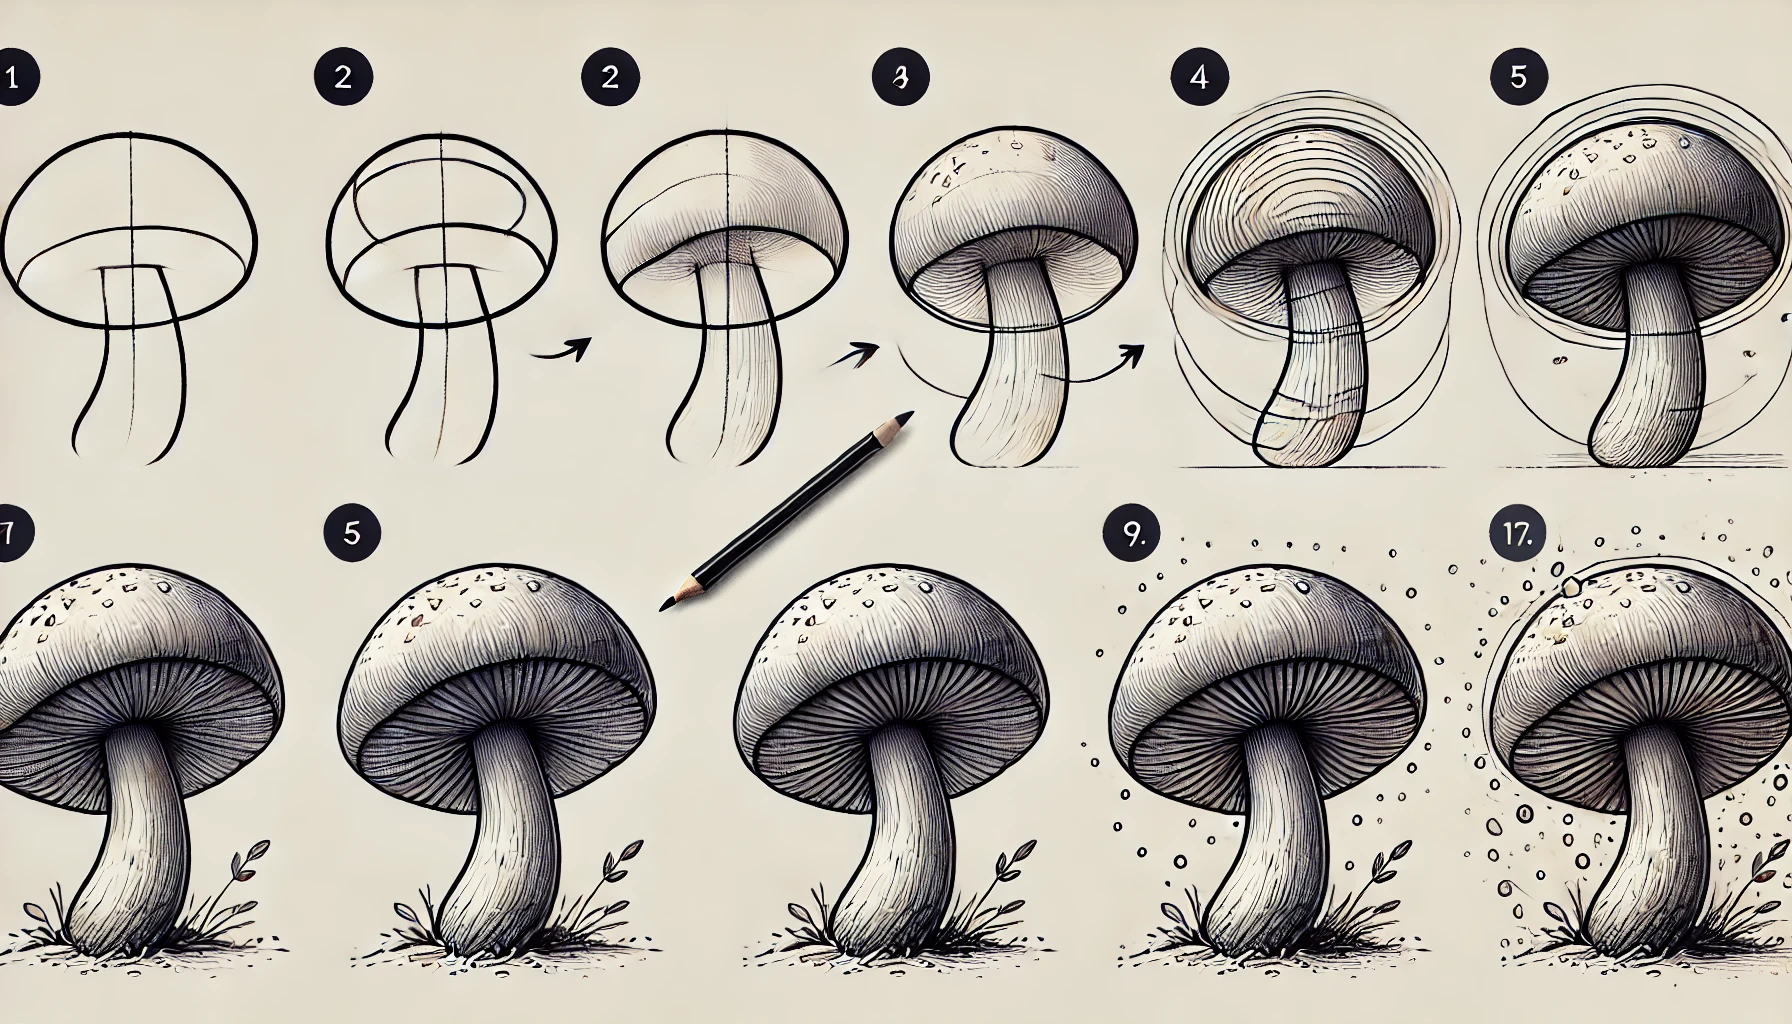
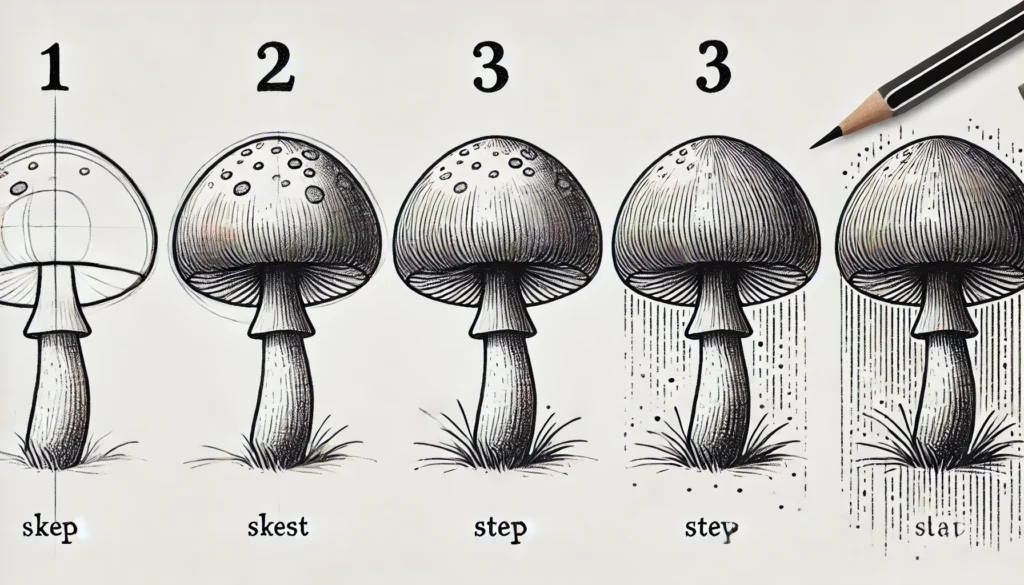
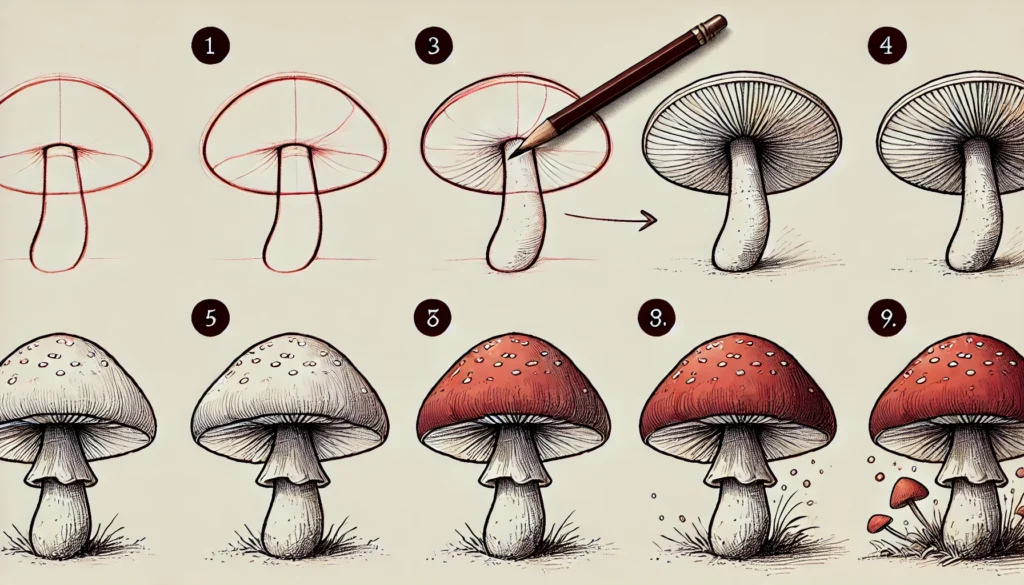
Begin by drawing the cap, which forms the mushroom’s top. Start with a simple oval or half-circle shape, adjusting the curvature based on your desired style. A rounded cap is classic, but you can experiment with slightly more pointed or flattened shapes to add uniqueness to your drawing. Keep your lines light at this stage, as adjustments might be needed to get the symmetry just right.
Exploring Cap Shapes
Not all mushrooms have the same type of cap. Some are round, others conical, and some even have wavy or flared edges. Experimenting with different cap shapes can give your mushroom drawing personality and make it stand out. A simple round cap feels whimsical, while a tall, narrow cap might look mysterious or enchanted.
Step 2: Adding the Stem
Once you’re happy with the cap, draw the stem. The stem should be centered beneath the cap, connecting it smoothly to the “ground.” A straight stem provides a clean look, but a slight curve can add a touch of realism, as few stems are perfectly straight in nature. Aim for a balanced proportion with the cap, keeping the stem neither too thick nor too thin.
Creating Naturalistic Stems
For added realism, avoid drawing the stem too perfect. Slight bumps, curves, or subtle imperfections can make it look more lifelike. Adding light shading along the sides of the stem can help create a sense of depth, making the stem appear cylindrical rather than flat.
Step 3: Drawing the Gills
Beneath the mushroom cap, draw the gills. These are the thin, radial lines that run from the stem outward to the edge of the cap. Gills add detail and texture but can be simplified by drawing evenly spaced lines. By keeping the gills subtle, you can suggest texture without overwhelming the drawing.
Simplifying Gills for Beginner Artists
For those new to drawing, intricate gill details might feel overwhelming. Try simplifying the gills by drawing a few prominent lines, adding just enough detail to imply texture. Adjusting the spacing between these lines can also create depth, with closer lines indicating shadowed areas.
Step 4: Adding Textures and Details
Textures bring your mushroom to life. Use small lines, dots, or curves to add texture to the cap and stem. Some mushrooms, like fly agarics, have distinct white spots on the cap, while others might show subtle lines or scales. Experiment with light, delicate strokes to achieve a textured look without overpowering the form.
Step 5: Shading and Adding Depth
Shading is where your mushroom gains dimension. Decide on a light source and add shadows accordingly. Shade beneath the cap where it meets the stem, and add slight shadowing on one side of the stem and cap. Soft shading with a pencil creates a realistic, three-dimensional effect, transforming a simple outline into a fully formed drawing.
Creating a Background (Optional)
A background isn’t necessary, but it can give context to your drawing. Consider adding a few blades of grass or a leafy setting to ground your mushroom. A subtle background helps make the mushroom the focal point, giving the drawing a finished look without excessive detail.
Tips for Adding Color
If you’d like to add color, colored pencils are an excellent choice. Many mushrooms have vibrant hues, from the iconic red of the fly agaric to the earthy tones of chanterelles. Use light layers of color, gradually building intensity to achieve a soft, natural look. Emulating real mushrooms can make your drawing more lifelike and visually engaging.
Exploring Mushroom Varieties
Mushrooms come in myriad shapes, colors, and sizes, each with its own character. Experimenting with different varieties can inspire a unique artistic style. For example, the spotted fly agaric offers a whimsical charm, while the tall, slender enoki presents elegance. Observing various species helps expand creative possibilities.
Adding Finishing Touches
Before concluding, erase any unnecessary lines and refine the contours. Adding tiny details like specks on the cap or gentle smudges on the stem can further enhance the texture. Step back, observe, and make any final adjustments to ensure balance and symmetry.
Common Mistakes to Avoid
Avoid common pitfalls, such as overly thick lines on the cap or an off-centered stem. Small misalignments can alter the overall look. If you make a mistake, gently erase it and refine the drawing, working in light layers for easier correction.

Using References to Improve Accuracy
References can be invaluable for accuracy and inspiration. A quick search for real mushroom photos can provide ideas and improve proportions. Observing actual mushrooms helps develop your skills in creating authentic shapes and textures.
Practicing to Develop Your Unique Style
With practice, you’ll find ways to add your personal flair to each drawing. Maybe you enjoy sketching playful mushrooms or prefer a realistic approach. Over time, these nuances will shape your distinct artistic voice.
Benefits of Drawing Nature Elements
Drawing nature elements like mushrooms can boost your observational skills, encouraging you to notice intricate details. Engaging with natural subjects can also be a meditative practice, connecting you to nature through creativity.
Conclusion
Creating a beautiful mushroom drawing is both simple and satisfying. By following these five steps—sketching the cap, adding the stem, detailing the gills, texturing, and shading—you can bring a mushroom to life on paper. Embrace the process, practice often, and enjoy watching your drawing skills flourish with each creation.

