How To Draw A Spider 5 Easy Steps – Quick and Simple
Posted on |
Introduction to Spider Drawing
Drawing spiders can be both a thrilling and rewarding exercise, combining simplicity with intricate detail. For artists of any skill level, capturing the unique structure of a spider offers an opportunity to sharpen observational skills while embracing one of nature’s most fascinating creatures. Surprisingly, the process may even help soften fears, transforming the subject from something eerie to an intriguing study of form.

Step 1: Gather Your Supplies
For the perfect spider drawing, start with essential supplies:
- A sketch pencil, preferably HB or 2B, for light, adjustable lines
- Eraser for adjustments
- Fine-tip black pen for clean outlines
For added depth, consider shading pencils or even charcoal. These optional tools bring texture and realism to the spider’s body and shadows, elevating a simple sketch into something captivating.
Step 2: Understanding Basic Spider Anatomy
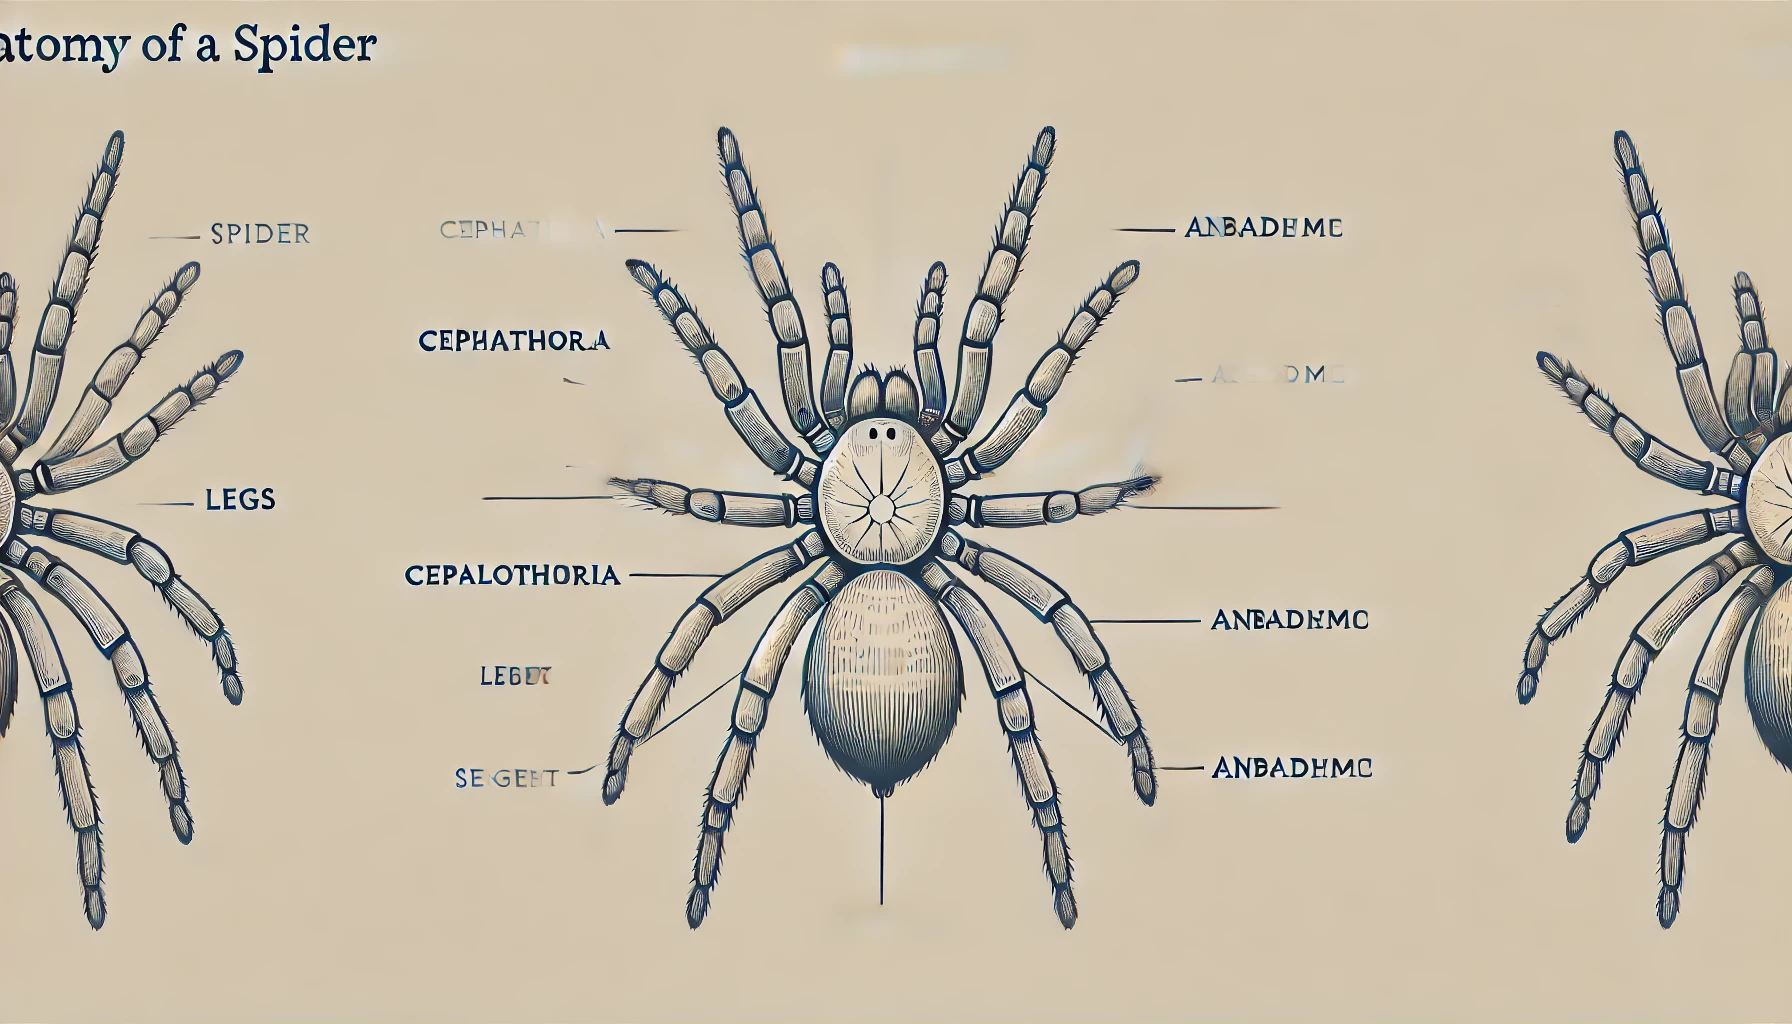
Understanding the anatomy of a spider simplifies the drawing process. A spider’s body consists of two main parts: the cephalothorax (the head area) and the abdomen. Then, of course, there are the legs—eight in total, divided into segments that add complexity to their movement. This anatomy not only informs accurate proportions but also lends personality to the drawing, helping to capture that distinct arachnid shape.
Step 3: Sketch the Basic Shapes
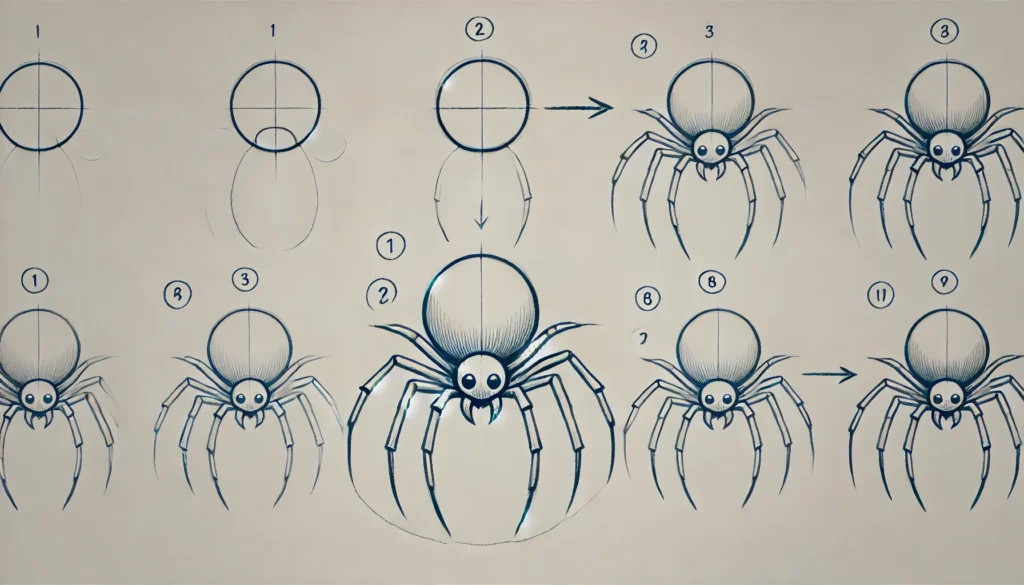
Begin by sketching two circles, one small and one larger, to represent the head and abdomen. These shapes serve as the core foundation of your spider. Then, add eight lightly drawn lines extending outward from the body’s sides to map out the leg positions. Each line should follow a gentle curve, as this will make the spider look more natural in later stages.
Step 4: Refine the Spider’s Shape
Now, start connecting the shapes with light, rounded lines to create a cohesive body form. Ensure the head circle and abdomen connect smoothly to resemble a real spider. Adjust the length and angles of the legs, creating slight bends to mimic how real spiders bend and place their legs. This phase of refinement brings the spider’s silhouette to life, giving it that characteristic stance.
Step 5: Adding Details
Once the basic structure is complete, it’s time to dive into the details. Begin by sketching the segmented joints on each leg, drawing small, subtle notches where the leg bends. For the head, add dots or circles for the eyes, and consider including small fangs below. These finer details elevate the drawing, making it look realistic yet approachable.
Step 6: Adding Texture to the Spider’s Body
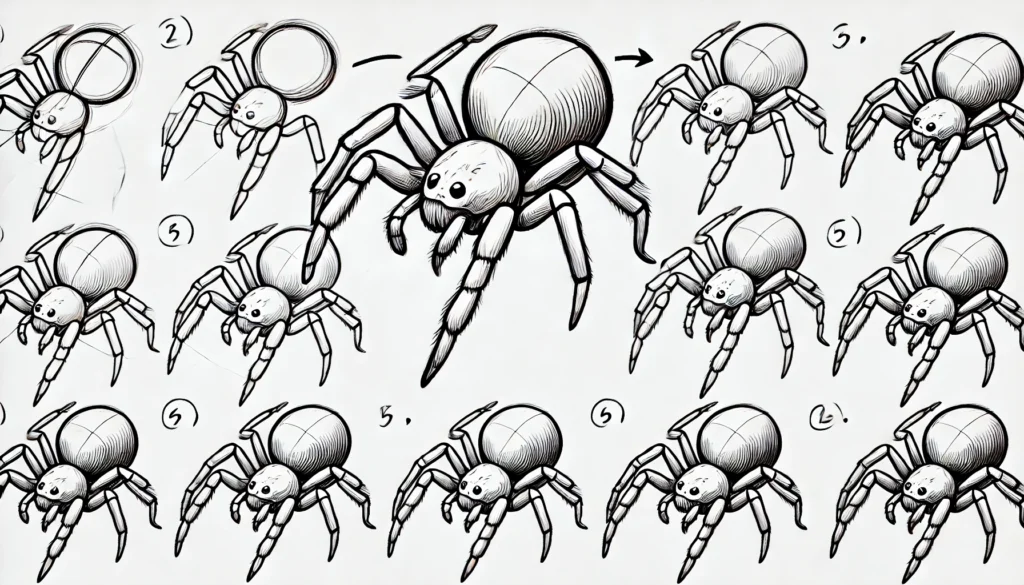
A spider’s body often has unique textures that vary depending on the species. For a lifelike effect, use light strokes or crosshatching to add a fuzzy texture on areas like the legs or abdomen. To create a 3D appearance, apply shading on one side of the spider’s body, capturing the way light might naturally hit it. This subtle shading transforms the drawing, adding dimension and depth.
Step 7: Creating the Spider’s Web (Optional)
If you wish, add a web for your spider to inhabit. Begin with a few intersecting lines, radiating outward from a central point, and connect these with delicate, curved lines to mimic the silken web. Placing your spider within the web adds a dynamic context to the drawing, making it feel more alive and grounded in its environment.
Common Mistakes and How to Avoid Them
It’s easy to misjudge proportions, particularly with the spider’s legs. Keep the legs similar in length and angle to avoid an imbalanced appearance. Also, try to avoid over-complicating the leg joints, which can make the drawing appear stiff.
Tips for Different Spider Types
Different spider species offer unique visual characteristics. For instance, drawing a tarantula involves sketching more hair and bulk, while a garden spider might require more delicate, thin lines. Choosing a specific species allows you to explore different textures and forms.
Adding Personality to Your Spider Drawing
A small change in the eye size or leg position can shift a spider’s personality. Tilted eyes can make the spider look curious, while elongated fangs and sharper angles give it a more menacing expression.
Exploring Various Art Styles for Spider Drawing
Spiders can take on various personalities depending on the style. Realistic art captures detail, while cartoonish styles simplify the shapes, making the spider appear friendly or whimsical. Experimenting with different styles brings out new dimensions in the art.
The Power of Shadows and Lighting
Adding shadows beneath the spider enhances its presence on the page. Use light shading under the abdomen and legs to ground it, suggesting where light and shadow might naturally fall.
Using Color to Enhance Your Spider Drawing
Colors breathe life into the spider. Use earthy tones or dark hues for realism, or venture into fantastical territory with vibrant colors, creating an otherworldly spider.

Final Touches: Enhancing the Drawing
Once satisfied with the details, clean up stray sketch lines, and sharpen any areas needing clarity. A precise eraser can add highlights on the legs or abdomen, enhancing the spider’s dimensional effect.
Spider Drawing Practice Exercises
To build confidence, practice drawing simple spider shapes and leg positions. Try sketching various spiders in different stances to improve muscle memory for anatomy and proportion.
Tips for Digitally Drawing a Spider
Digital tools like layers allow easy adjustments. Use layers to refine shapes, add shading, and explore texturing options without affecting the foundational structure.
Inspiration from Famous Spider Art in Pop Culture
From comic book icons to film creatures, spiders have captivated audiences. Draw inspiration from popular designs and explore unique ways to blend these iconic elements with your style.
How to Share Your Spider Art with the World
Once completed, share your work online to connect with others. Engaging in art communities can provide valuable feedback and inspiration from fellow spider enthusiasts.
Conclusion: The Joy of Mastering Spider Drawing
With each line, shading, and detail, you’ve captured an intricate subject in just five simple steps. Drawing a spider becomes not just a practice in art but a celebration of form, patience, and creativity. As you refine this skill, venture into other insect illustrations, building a collection that reflects both your skill and the wonders of the natural world.

