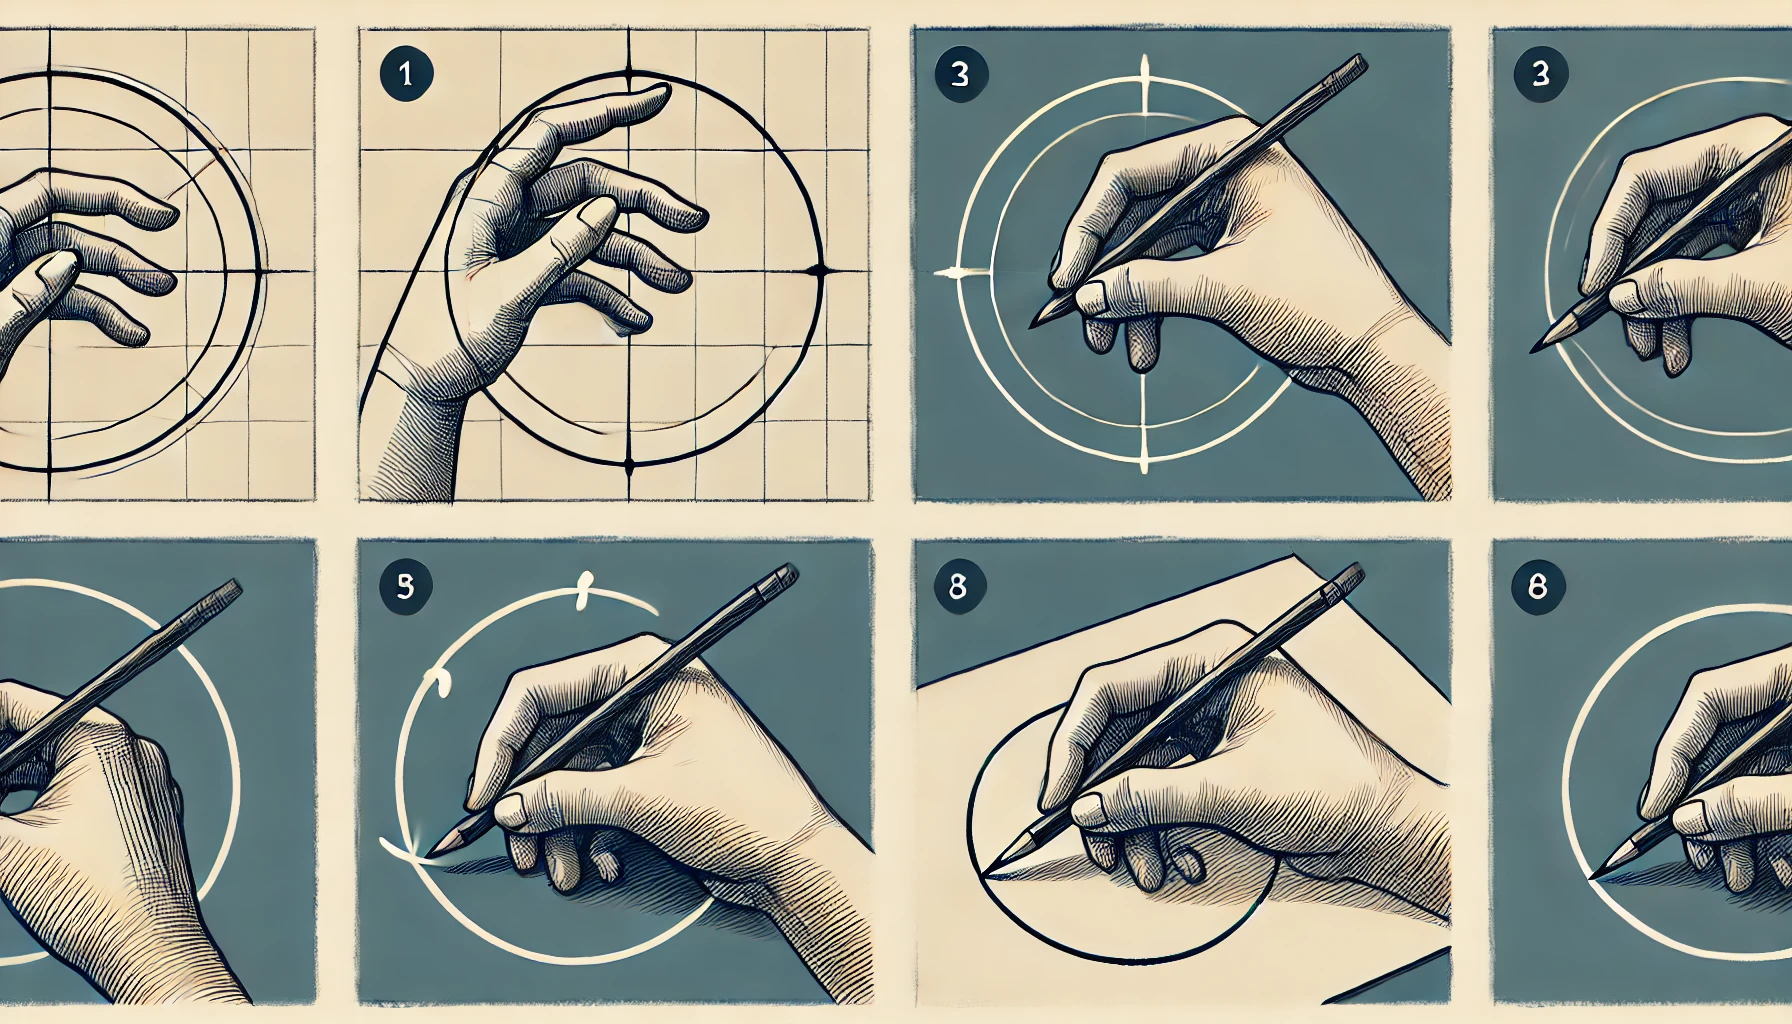
Step 1: Hand Positioning 3.1 Relaxing Your Hand and Arm Tension is the enemy of fluid motion. Begin by stretching your fingers and loosening your wrist. This relaxation enhances flexibility, allowing your hand to glide rather than drag. 3.2 Anchoring Your Wrist for Stability A stable wrist is the cornerstone of a controlled circle. Position your wrist lightly on the paper, allowing it to act as a pivot point. This creates a steady anchor, essential for a clean, unbroken line. 4. Step 2: Visualizing the Circle 4.1 Using Mental Imagery for Accuracy Envision the circle in your mind. Picture its size, starting point, and how you’ll sweep around. This mental practice helps reduce hesitations, leading to smoother, more confident lines. 4.2 Practicing Light Tracing Using gentle, faint lines, trace the imagined circle. This preliminary outline doesn’t need to be perfect – it’s a guide that helps your hand become familiar with the motion. 5. Step 3: Starting Your Circle 5.1 Beginning with a Gentle Curve With your initial line in place, commit to a continuous movement. Start gently, focusing on forming a consistent curve. Remember, the first step is about building form, not immediate perfection. 5.2 Maintaining Even Pressure Throughout As you move, keep the pressure on your pencil consistent. Heavy-handedness can distort the curve or create unwanted edges, while too light a touch may break the line’s continuity. 6. Step 4: Continuous Movement 6.1 Emphasizing Flow and Smoothness In drawing circles, fluidity is paramount. Move with a steady rhythm, avoiding pauses or stops. Let your hand flow naturally, guiding the line seamlessly around the path. 6.2 Avoiding Common Mistakes in Circular Strokes Circles often go awry due to hesitations or abrupt shifts in pressure. Keep a relaxed hand and a consistent pace, staying mindful of any sudden motions. 7. Step 5: Connecting the Ends 7.1 Completing the Circle Seamlessly As you near the starting point, focus on closing the gap without overlap. A seamless connection between the start and endpoint marks a well-drawn circle.

Draw A Perfect Circle 5 Easy Steps – Quick and Simple

Posted on |

1. Introduction Draw A Perfect Circle

1.1 Why Drawing a Perfect Circle Matters
Circles are everywhere – from art to architecture, the natural world to our man-made designs. Yet, achieving the elegance of a perfect circle by hand is a skill not easily mastered. Why does this matter? A circle represents unity and balance. Learning to draw a perfect one, with just the sweep of your hand, embodies that harmonious perfection in your creative endeavors.

1.2 Understanding the Basics of Circular Shapes
Circles, with their symmetry and flow, differ from any other shape in art. A perfect circle has no beginning or end, and understanding this unique form starts with appreciating its geometry. Without edges or angles, the circle challenges our natural hand movements, often geared toward straight lines and corners.

2. Preparation

2.1 Gathering Essential Tools
Before diving in, ensure you have the right materials. While this guide focuses on freehand drawing, a pencil with a comfortable grip, smooth paper, and a flat surface are essentials for success.

2.2 Creating the Right Environment
Find a space free from distractions. Even subtle interruptions can disrupt your flow. Natural light helps reveal nuances in your lines, while a quiet environment allows for steady concentration.
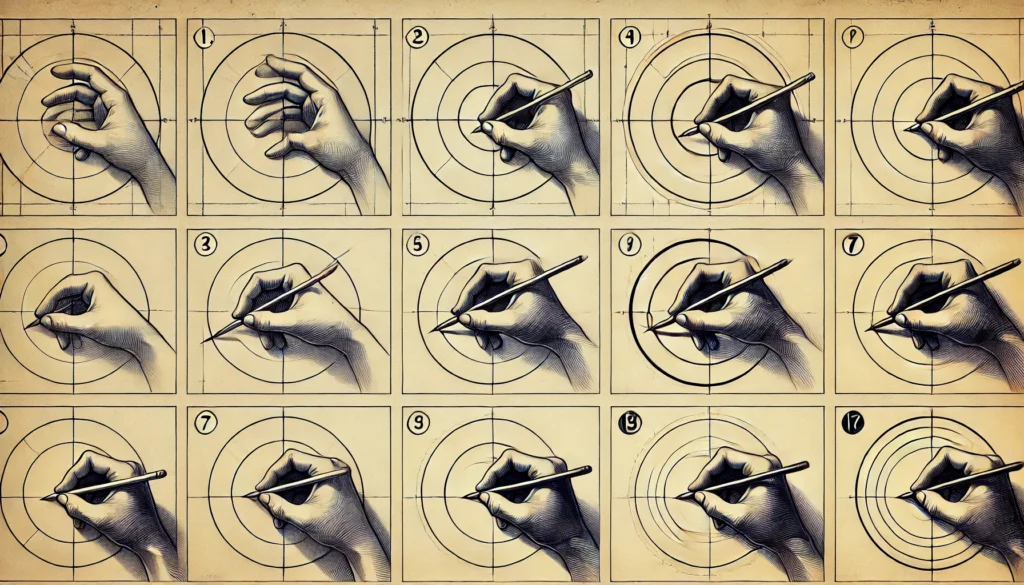
Step 1: Hand Positioning
3.1 Relaxing Your Hand and Arm
Tension is the enemy of fluid motion. Begin by stretching your fingers and loosening your wrist. This relaxation enhances flexibility, allowing your hand to glide rather than drag.

3.2 Anchoring Your Wrist for Stability
A stable wrist is the cornerstone of a controlled circle. Position your wrist lightly on the paper, allowing it to act as a pivot point. This creates a steady anchor, essential for a clean, unbroken line.

4. Step 2: Visualizing the Circle
4.1 Using Mental Imagery for Accuracy
Envision the circle in your mind. Picture its size, starting point, and how you’ll sweep around. This mental practice helps reduce hesitations, leading to smoother, more confident lines.

4.2 Practicing Light Tracing
Using gentle, faint lines, trace the imagined circle. This preliminary outline doesn’t need to be perfect – it’s a guide that helps your hand become familiar with the motion.

5. Step 3: Starting Your Circle
5.1 Beginning with a Gentle Curve
With your initial line in place, commit to a continuous movement. Start gently, focusing on forming a consistent curve. Remember, the first step is about building form, not immediate perfection.

5.2 Maintaining Even Pressure Throughout
As you move, keep the pressure on your pencil consistent. Heavy-handedness can distort the curve or create unwanted edges, while too light a touch may break the line’s continuity.

6. Step 4: Continuous Movement
6.1 Emphasizing Flow and Smoothness
In drawing circles, fluidity is paramount. Move with a steady rhythm, avoiding pauses or stops. Let your hand flow naturally, guiding the line seamlessly around the path.

6.2 Avoiding Common Mistakes in Circular Strokes
Circles often go awry due to hesitations or abrupt shifts in pressure. Keep a relaxed hand and a consistent pace, staying mindful of any sudden motions.

7. Step 5: Connecting the Ends
7.1 Completing the Circle Seamlessly
As you near the starting point, focus on closing the gap without overlap. A seamless connection between the start and endpoint marks a well-drawn circle.
Draw A Perfect Circle 5 Easy Steps – Quick and Simple 4

3. Step 1: Hand Positioning

3.1 Relaxing Your Hand and Arm
Tension is the enemy of fluid motion. Begin by stretching your fingers and loosening your wrist. This relaxation enhances flexibility, allowing your hand to glide rather than drag.

3.2 Anchoring Your Wrist for Stability
A stable wrist is the cornerstone of a controlled circle. Position your wrist lightly on the paper, allowing it to act as a pivot point. This creates a steady anchor, essential for a clean, unbroken line.

4. Step 2: Visualizing the Circle

4.1 Using Mental Imagery for Accuracy
Envision the circle in your mind. Picture its size, starting point, and how you’ll sweep around. This mental practice helps reduce hesitations, leading to smoother, more confident lines.

4.2 Practicing Light Tracing
Using gentle, faint lines, trace the imagined circle. This preliminary outline doesn’t need to be perfect – it’s a guide that helps your hand become familiar with the motion.

5. Step 3: Starting Your Circle

5.1 Beginning with a Gentle Curve
With your initial line in place, commit to a continuous movement. Start gently, focusing on forming a consistent curve. Remember, the first step is about building form, not immediate perfection.

5.2 Maintaining Even Pressure Throughout
As you move, keep the pressure on your pencil consistent. Heavy-handedness can distort the curve or create unwanted edges, while too light a touch may break the line’s continuity.

6. Step 4: Continuous Movement

6.1 Emphasizing Flow and Smoothness
In drawing circles, fluidity is paramount. Move with a steady rhythm, avoiding pauses or stops. Let your hand flow naturally, guiding the line seamlessly around the path.

6.2 Avoiding Common Mistakes in Circular Strokes
Circles often go awry due to hesitations or abrupt shifts in pressure. Keep a relaxed hand and a consistent pace, staying mindful of any sudden motions.

7. Step 5: Connecting the Ends

7.1 Completing the Circle Seamlessly
As you near the starting point, focus on closing the gap without overlap. A seamless connection between the start and endpoint marks a well-drawn circle.

7.2 Refining Any Imperfections
Minor imperfections are normal. Lightly adjust any irregularities, but avoid over-correcting, which can make the circle lose its shape.

8. Practice Techniques

8.1 Repeating for Muscle Memory
Repetition is essential to perfect circles. Practice in different sizes to build muscle memory. Each attempt refines your technique, bringing you closer to consistent results.

8.2 Experimenting with Different Sizes
Varying the size of your circles strengthens control. Smaller circles require precision, while larger ones test your fluidity, both enhancing your skills overall.

9. Tips for Consistency

9.1 Common Adjustments for Better Circles
Each hand is unique, so experiment with grip strength, speed, and wrist position. Fine-tuning these aspects can improve your consistency over time.

9.2 Knowing When to Use Tools for Guidance
Freehand is a valuable skill, but don’t hesitate to use tools like a compass for specific projects. Such aids are helpful for exact designs or intricate work.
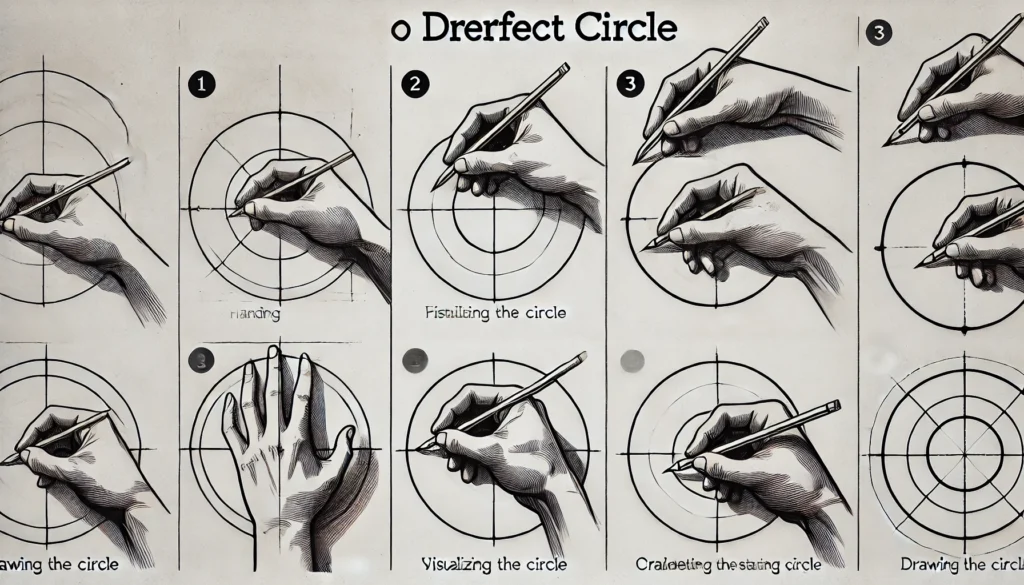
Step 1: Hand Positioning
3.1 Relaxing Your Hand and Arm
Tension is the enemy of fluid motion. Begin by stretching your fingers and loosening your wrist. This relaxation enhances flexibility, allowing your hand to glide rather than drag.

3.2 Anchoring Your Wrist for Stability
A stable wrist is the cornerstone of a controlled circle. Position your wrist lightly on the paper, allowing it to act as a pivot point. This creates a steady anchor, essential for a clean, unbroken line.

4. Step 2: Visualizing the Circle
4.1 Using Mental Imagery for Accuracy
Envision the circle in your mind. Picture its size, starting point, and how you’ll sweep around. This mental practice helps reduce hesitations, leading to smoother, more confident lines.

4.2 Practicing Light Tracing
Using gentle, faint lines, trace the imagined circle. This preliminary outline doesn’t need to be perfect – it’s a guide that helps your hand become familiar with the motion.

5. Step 3: Starting Your Circle
5.1 Beginning with a Gentle Curve
With your initial line in place, commit to a continuous movement. Start gently, focusing on forming a consistent curve. Remember, the first step is about building form, not immediate perfection.

5.2 Maintaining Even Pressure Throughout
As you move, keep the pressure on your pencil consistent. Heavy-handedness can distort the curve or create unwanted edges, while too light a touch may break the line’s continuity.

6. Step 4: Continuous Movement
6.1 Emphasizing Flow and Smoothness
In drawing circles, fluidity is paramount. Move with a steady rhythm, avoiding pauses or stops. Let your hand flow naturally, guiding the line seamlessly around the path.

6.2 Avoiding Common Mistakes in Circular Strokes
Circles often go awry due to hesitations or abrupt shifts in pressure. Keep a relaxed hand and a consistent pace, staying mindful of any sudden motions.

7. Step 5: Connecting the Ends
7.1 Completing the Circle Seamlessly
As you near the starting point, focus on closing the gap without overlap. A seamless connection between the start and endpoint marks a well-drawn circle.
Draw A Perfect Circle 5 Easy Steps – Quick and Simple 5

10. Practical Applications

10.1 Applying Perfect Circles in Art
Circles serve as focal points in sketches, defining elements in design, and as the basis for more complex shapes. Mastering them opens doors to diverse artistic expressions.

10.2 Leveraging Circles in Design and Sketching
From logos to architectural sketches, circles symbolize harmony and completeness. Being adept at creating them enriches your creative portfolio.

11. Overcoming Challenges

11.1 Dealing with Shaky Lines
Shakiness can stem from tension or lack of practice. Practice slow, mindful strokes. Experiment with breathing techniques to maintain a calm, steady hand.

11.2 Staying Motivated to Improve
The journey to drawing a perfect circle may be bumpy. Celebrate small victories and keep the end goal in mind – each effort brings you closer to mastery.

12. Final Thoughts

12.1 Reflecting on Your Progress
Look back on your practice circles. Notice how they improve over time. Reflecting on your progress reinforces the learning process and boosts confidence.

12.2 Embracing Imperfections as Part of the Process
Perfection is subjective. Slight irregularities add character and a human touch to your work. Embrace them as part of your artistic journey.

By following these steps, you’re not just learning to draw a circle; you’re developing a skill that sharpens focus and cultivates patience, valuable traits both in art and in life.